Finally, after years of research, planning, saving, and more planning, we were ready to begin construction. The slab had been poured, the plans that we had designed were printed, all of our materials had been delivered, the sun was shining and I was ready to embark on our greatest adventure to date – building our own home.
We designed the house for ease of construction since we would be building it ourselves. We also kept the design minimal for aesthetics and for financial reasons. Lastly, we kept it small to force us outdoors and to save from unnecessary costs. Now, all we had to do was build it.
So there I was, with my new Paslode framing nailer in one hand and my plans in the other. I hadn’t made it more than 15 minutes into the build when I realized there was a significant construction detail that would alter the entire process. I hadn’t known it at the time, but further research afterwards explained this simple detail to me. The fact was that our slab upon which we would build our home was not the right size.
Actually, it was – just not how I perceived it. The dimensions of the home were designed to be 20 feet wide by 30 feet in depth. When I measured the actual slab, it came out to be 19 feet 8 inches wide by 29 feet 8 inches in depth. The four inches that it was off in either direction was due to the 2 inches of high density insulation foam board that surrounded the monolithic slab. Again, my ignorance came to light in the fact that I assumed the actual slab would be the dimensions that I asked for. It didn’t occur to me that the overall dimensions would include the foam.
Now in normal construction, the sill plates, or the bottom board of your exterior wall, would overhang the slab on top of the high density foam board. This would ensure that your sheeting and siding would overhang the side of the foam board and there could be no water intrusion.
That said, there were issues with our slab pour which dictated (at least to me) the direction our construction would follow. The slab contractor told me after the pour that they had been having issues with the concrete truck. How this affected what follows I’m not sure, but here are the results. First off, the slab was not flush with the high density foam board. Whereas previously mentioned in normal construction the sill would overhang the slab and rest on the foam board, in our case there could be gaps of unsupported sill plates of up to 3/4”.
Furthermore, the slab contractor was unable to place the connecting bolts which would bolt the sill plate to the slab. I would have to drill and place anchors later on once the sills were in place. After doing some quick research, I found that exterior anchors should be situated at least 3 inches from the exterior of the slab to prevent cracking. So, if I were to frame the walls traditionally with the overhang and drill the anchors at the recommended setback, I’d be left with walls that were partially unsupported and the anchors would be within 1/2” of the edge of the sill. Neither scenario was really ideal.
My second option was just to frame the walls flush with the edge of the slab, and not overhang them. This would relieve me from the anchoring and unsupported sill issues, but it would present me with two new problems.
First, I would have to figure out a way to shed water from off the top of the high density foam board, otherwise water intrusion could find it’s way underneath the sill plates and we’d have a wet, leaky house. That, I figured I could resolve. More importantly, this would change the dimensions of the entire structure by four inches in either direction. While the distance lost isn’t a major issue, it changes the entirety of the blueprints that I had painstakingly created. Everything else from here on (so, everything) would have to be framed “as I went” instead of relying on building plans.
I chose the latter option, even though I knew it would make things more difficult for me. My rationale is that I can always work harder, but if I don’t secure the walls (which transmit loads from the roof) sufficiently, all of my work could come crashing down on top of us – regardless of how well my plans were designed.

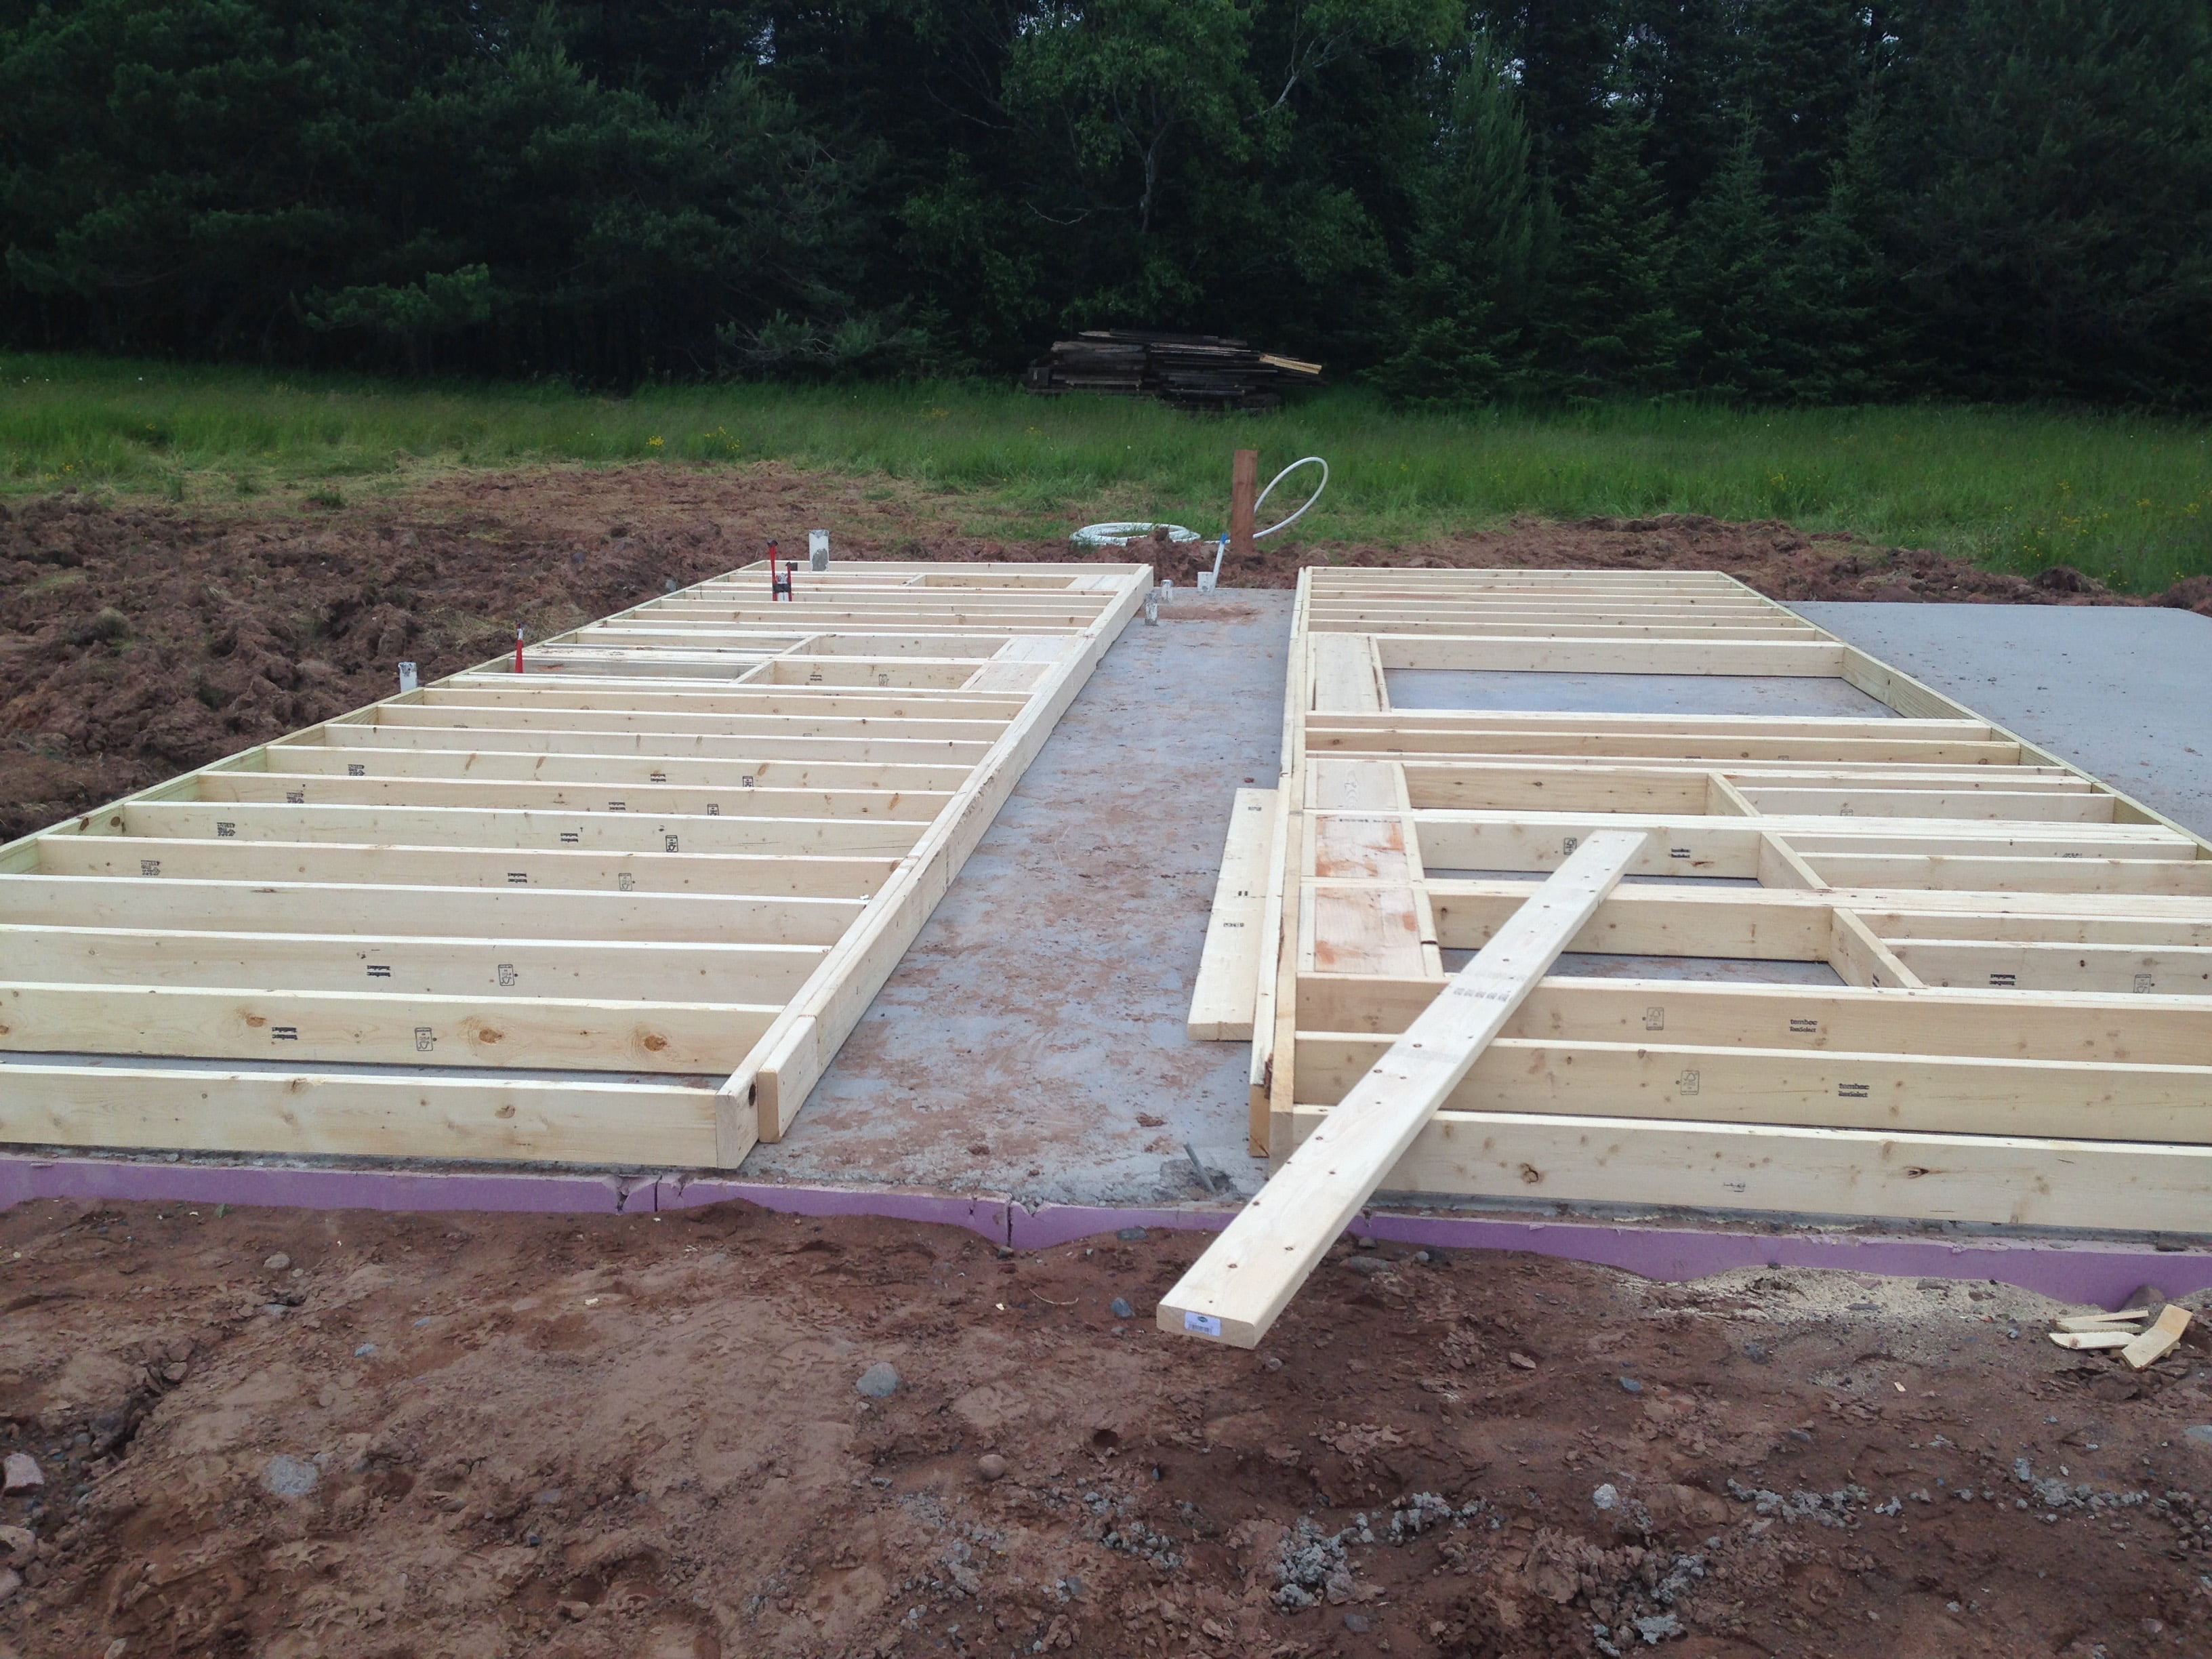
 Once I had grimly made this decision I got back to the matter of framing, and that went pretty quickly. The exterior walls are 2×6 dimensional lumber to provide ample depth for insulation – more on that later. I had purchased new saw blades and we had temporary power to the build site. It was just measure, cut, nail, repeat. By the end of the day I had both the east and west first floor walls framed up on the ground. Now, all we had to do was raise them.