I’d like to tell you that Day 3 went without any errors on my part, but that would be erroneous. At this point of writing, I’m surprised at how much I seemed to be screwing up. You probably don’t have much faith in me either. Fear not, with perseverance just about any flaw can be fixed – or covered up. Some of these errors weren’t immediately apparent to me until I began other steps, which is why they weren’t corrected in the first place.
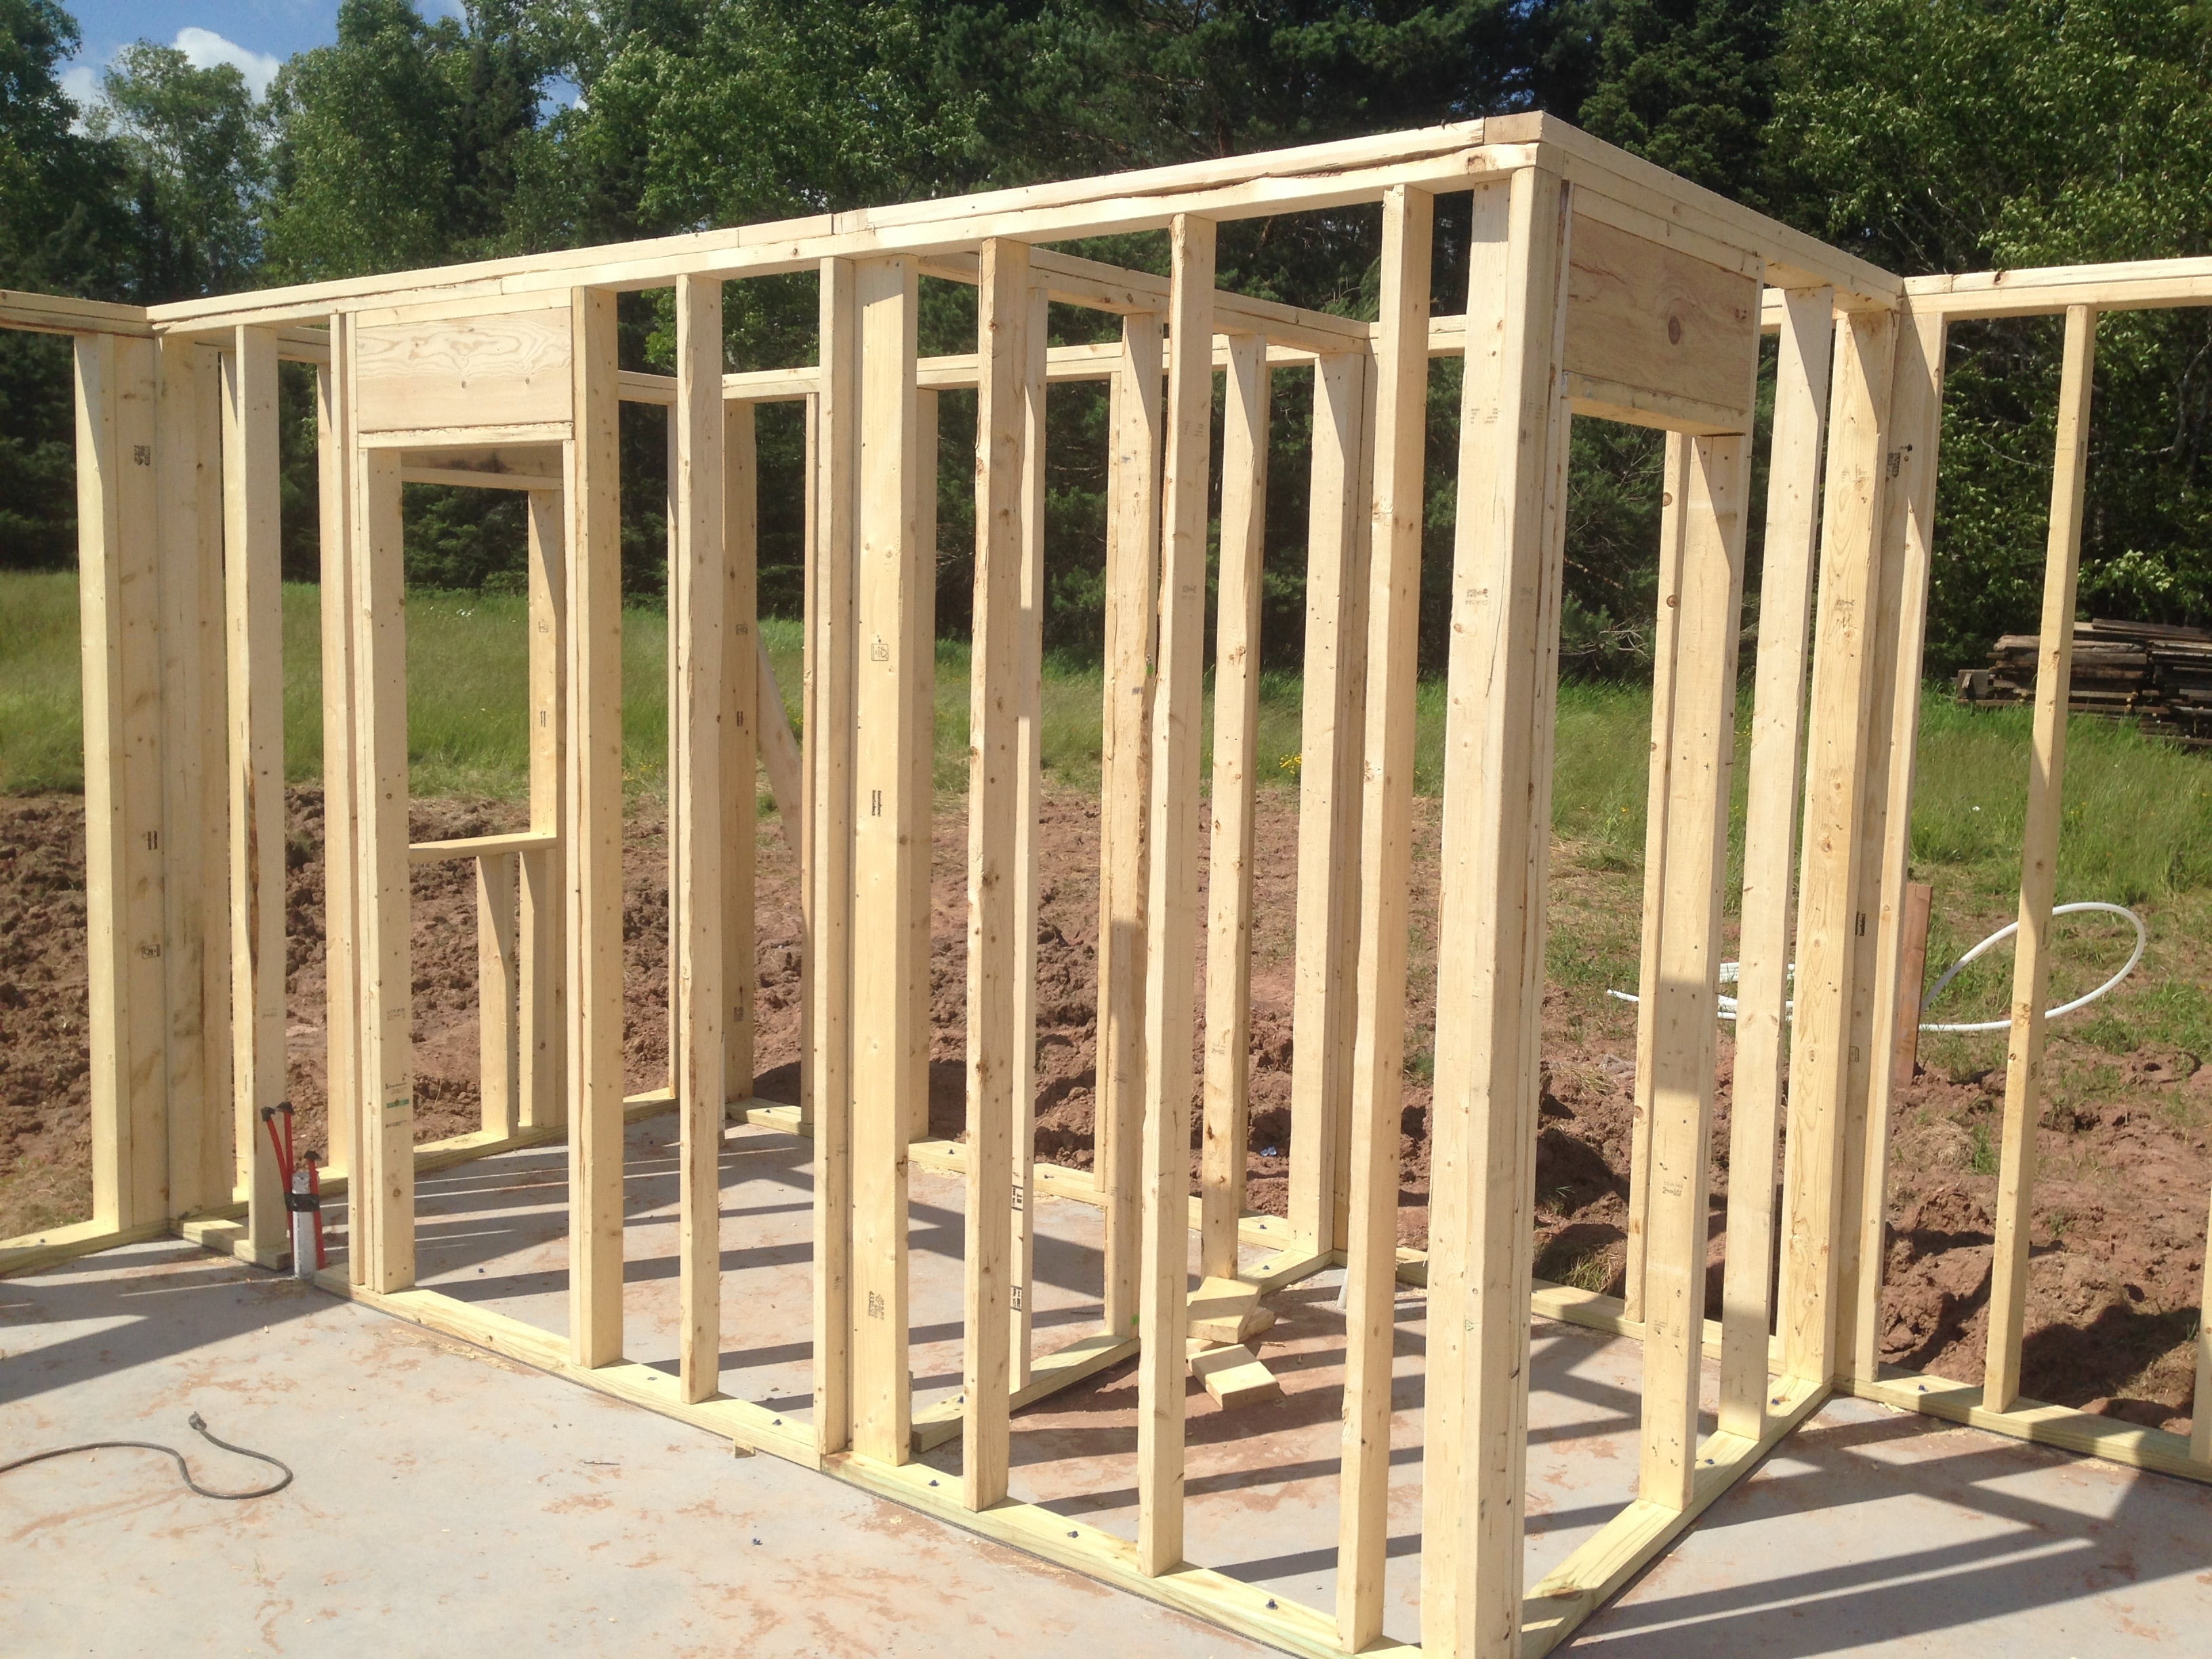
After we had raised all four walls and tacked them plumb to each other, my coworker suggested that I put the sheeting up on the exterior walls instead of continuing the framing for the loft level. This would help strengthen the walls and tie the studs together. I was going to do that, but first I decided to frame the interior walls that would make up the bathroom and the mechanical room.
This was a straightforward process; the same as I had been doing the past two days. The only difference is that these walls are framed with 2×4 dimensional lumber instead of 2×6. The reason for this is to save interior room space. In hindsight, I should have gone with 2×6’s and just dealt with losing 4 inches of floor space. It would have been ok.
The issue was that there is plumbing in these walls for the bathroom sink drain and the washing machine drain (which is also in the bathroom). The PVC drain pipe for both of these drains is 2”, or about 2 1/2” exterior dimensions. My interior walls would be framed at 3 1/2” in width, so if the holes for the drain pipe to pass through the studs were centered, this would leave me with 1/2” on either side.
That turned out to be problematic since I also had to run my supply lines past these pipes and there wasn’t much room. It worked fine, it was just a little harder. What was a problem was where my bathroom sink drain came up from the slab. Along with the drain, my supply lines from this sink to the kitchen sink were ran under the slab.

Because of the increased diameter of the two supply lines with the drain, I didn’t have enough room to fit them in the width of the 2×4 sill plate at the bottom of the wall. Instead of cutting a hole, I cut out the sill in this portion. Problem.
This problem did not present itself until much later in the build when I began the tongue and groove, but what had happened was that because I essentially had two short pieces of unattached sill plates instead of one interconnected one, they weren’t set at the right distance when I framed the studs and the whole wall. What I should have done was framed the whole wall with one continuous sill plate and then cut for the plumbing to go through it, after the studs were all plumb. That, or made a 2×6 wall. Live and learn.
ANOTHER problem that didn’t appear until installing the tongue and groove is that one of my studs adjacent to the bathroom door opening is crowned in the opposite direction. Let me explain. Dimensional lumber is never perfectly straight. Nor is wood in general. That’s the nature of the beast; wood is a natural material, and it reacts to stresses, forces, and moisture even when it’s been made into lumber.
The general practice with framing is to examine your studs and place them so that any bends face the same direction. This is to prevent the wall from appearing wavy. Normally, somewhere in the middle of a wall this wouldn’t be an issue. However, since it was so close to the door opening there’s no way to fix it at this point. The result is that the tongue and groove is not flush with my jack stud (to which the door jamb is attached).
The result of that is that, the width of the door jamb, as is, varies from 5” to 5 1/2” inches where this crown lies. Now, I’ll be able to cover this up with the jamb and the door casing, but again my error creates more work for me down the road.
Anyways, not knowing the errors I had made, I merrily continued with the rest of the day. All three of my interior walls were framed, raised and placed in just one day. Of course, it helps when they’re only 2x4s and not very long. I was able to raise these walls by myself this time.

After the interior walls were placed I was also able to start getting some of the sheeting up. Now I used OSB instead of plywood for both my exterior wall sheeting and the roof sheeting, mostly for economical reasons. The price of a sheet of OSB was roughly half that of plywood. Structurally, either are sufficient. However, OSB degrades if left in wet environments and exposed to UV rays for prolonged periods. Again, my coworker with construction experience reassured me that this could be up to two months.
Since I decided to save some money and go with OSB instead of plywood, I really didn’t want to skimp on the thickness of materials. I knew that when I would be up on the roof I’d prefer not to be bouncing with every step. Furthermore, the thicker panels increase the overall strength of the structure, and cost difference was nominal.
What it did add was exorbitant weight for me to carry around. The 1/2” sheets I used for the walls came in at about 48 pounds; the 3/4” sheet for the roof were at 68 pounds. Needless to say, I had my work cut out for me.
The end of day 3 found me with all of the interior walls framed, raised, and placed as well as getting the east exterior wall sheeted.