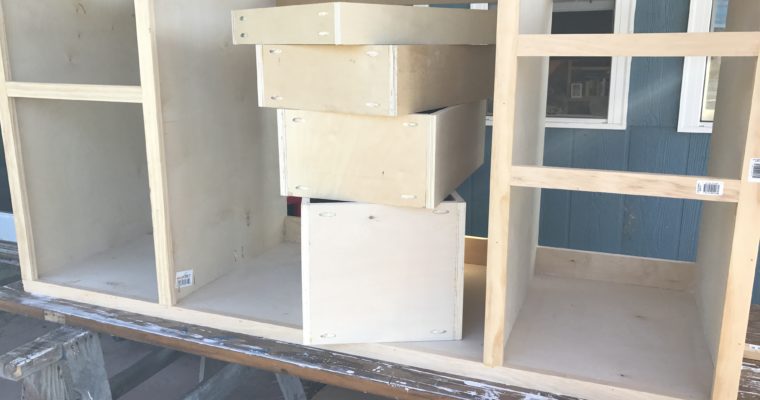
After the face frame was complete and installed on the kitchen cabinet carcass it was time to move on to the kitchen drawers. These kitchen cabinet drawers were installed in much the same dfashion as the carcass itself.
Using pocket holes and screws, the pieces of the cabinet drawers soon became a cohesive unit. The sides overlay the front and back so that the pocket holes are also on the front and back. This will help keep them from being visible. The front will have a false face on it, so that covers up those holes. The back sides will be facing the back of the cabinet carcass, and won’t be seen unless the drawers are removed.
The size of the drawers can be anything you’d like, depending on your storage needs and design. Obviously you’re limited by the opening dimensions of the face frame, but hopefully you’ve designed the face frame with that in mind. For our purposes, we chose to have three drawers on the left side, two in the middle that have doors in front of them, and three more on the right. The top one on the right is much like the left in that there will be a false face. The bottom two on the right will have a door in front, similar to the middle drawers.
What’s important to keep in mind when building these cabinet drawers is that you have to subtract the width of the slideout from your overall opening width. For example: the opening width of the face frame on the left drawers is 15″. The width of our slide outs is 1/2″. So adding two together (one for each side) gives us a total of 1″. Now we have to subtract 1″ from 15″ and that leaves us with 14″. Furthermore, since the sides of the cabinet drawers are also included in this overall width, we need to subtract another 1.5″ (3/4″ from each side) to give us a total width of 12.5″ for the bottom of the drawer. From there, we can begin building the cabinet drawers.