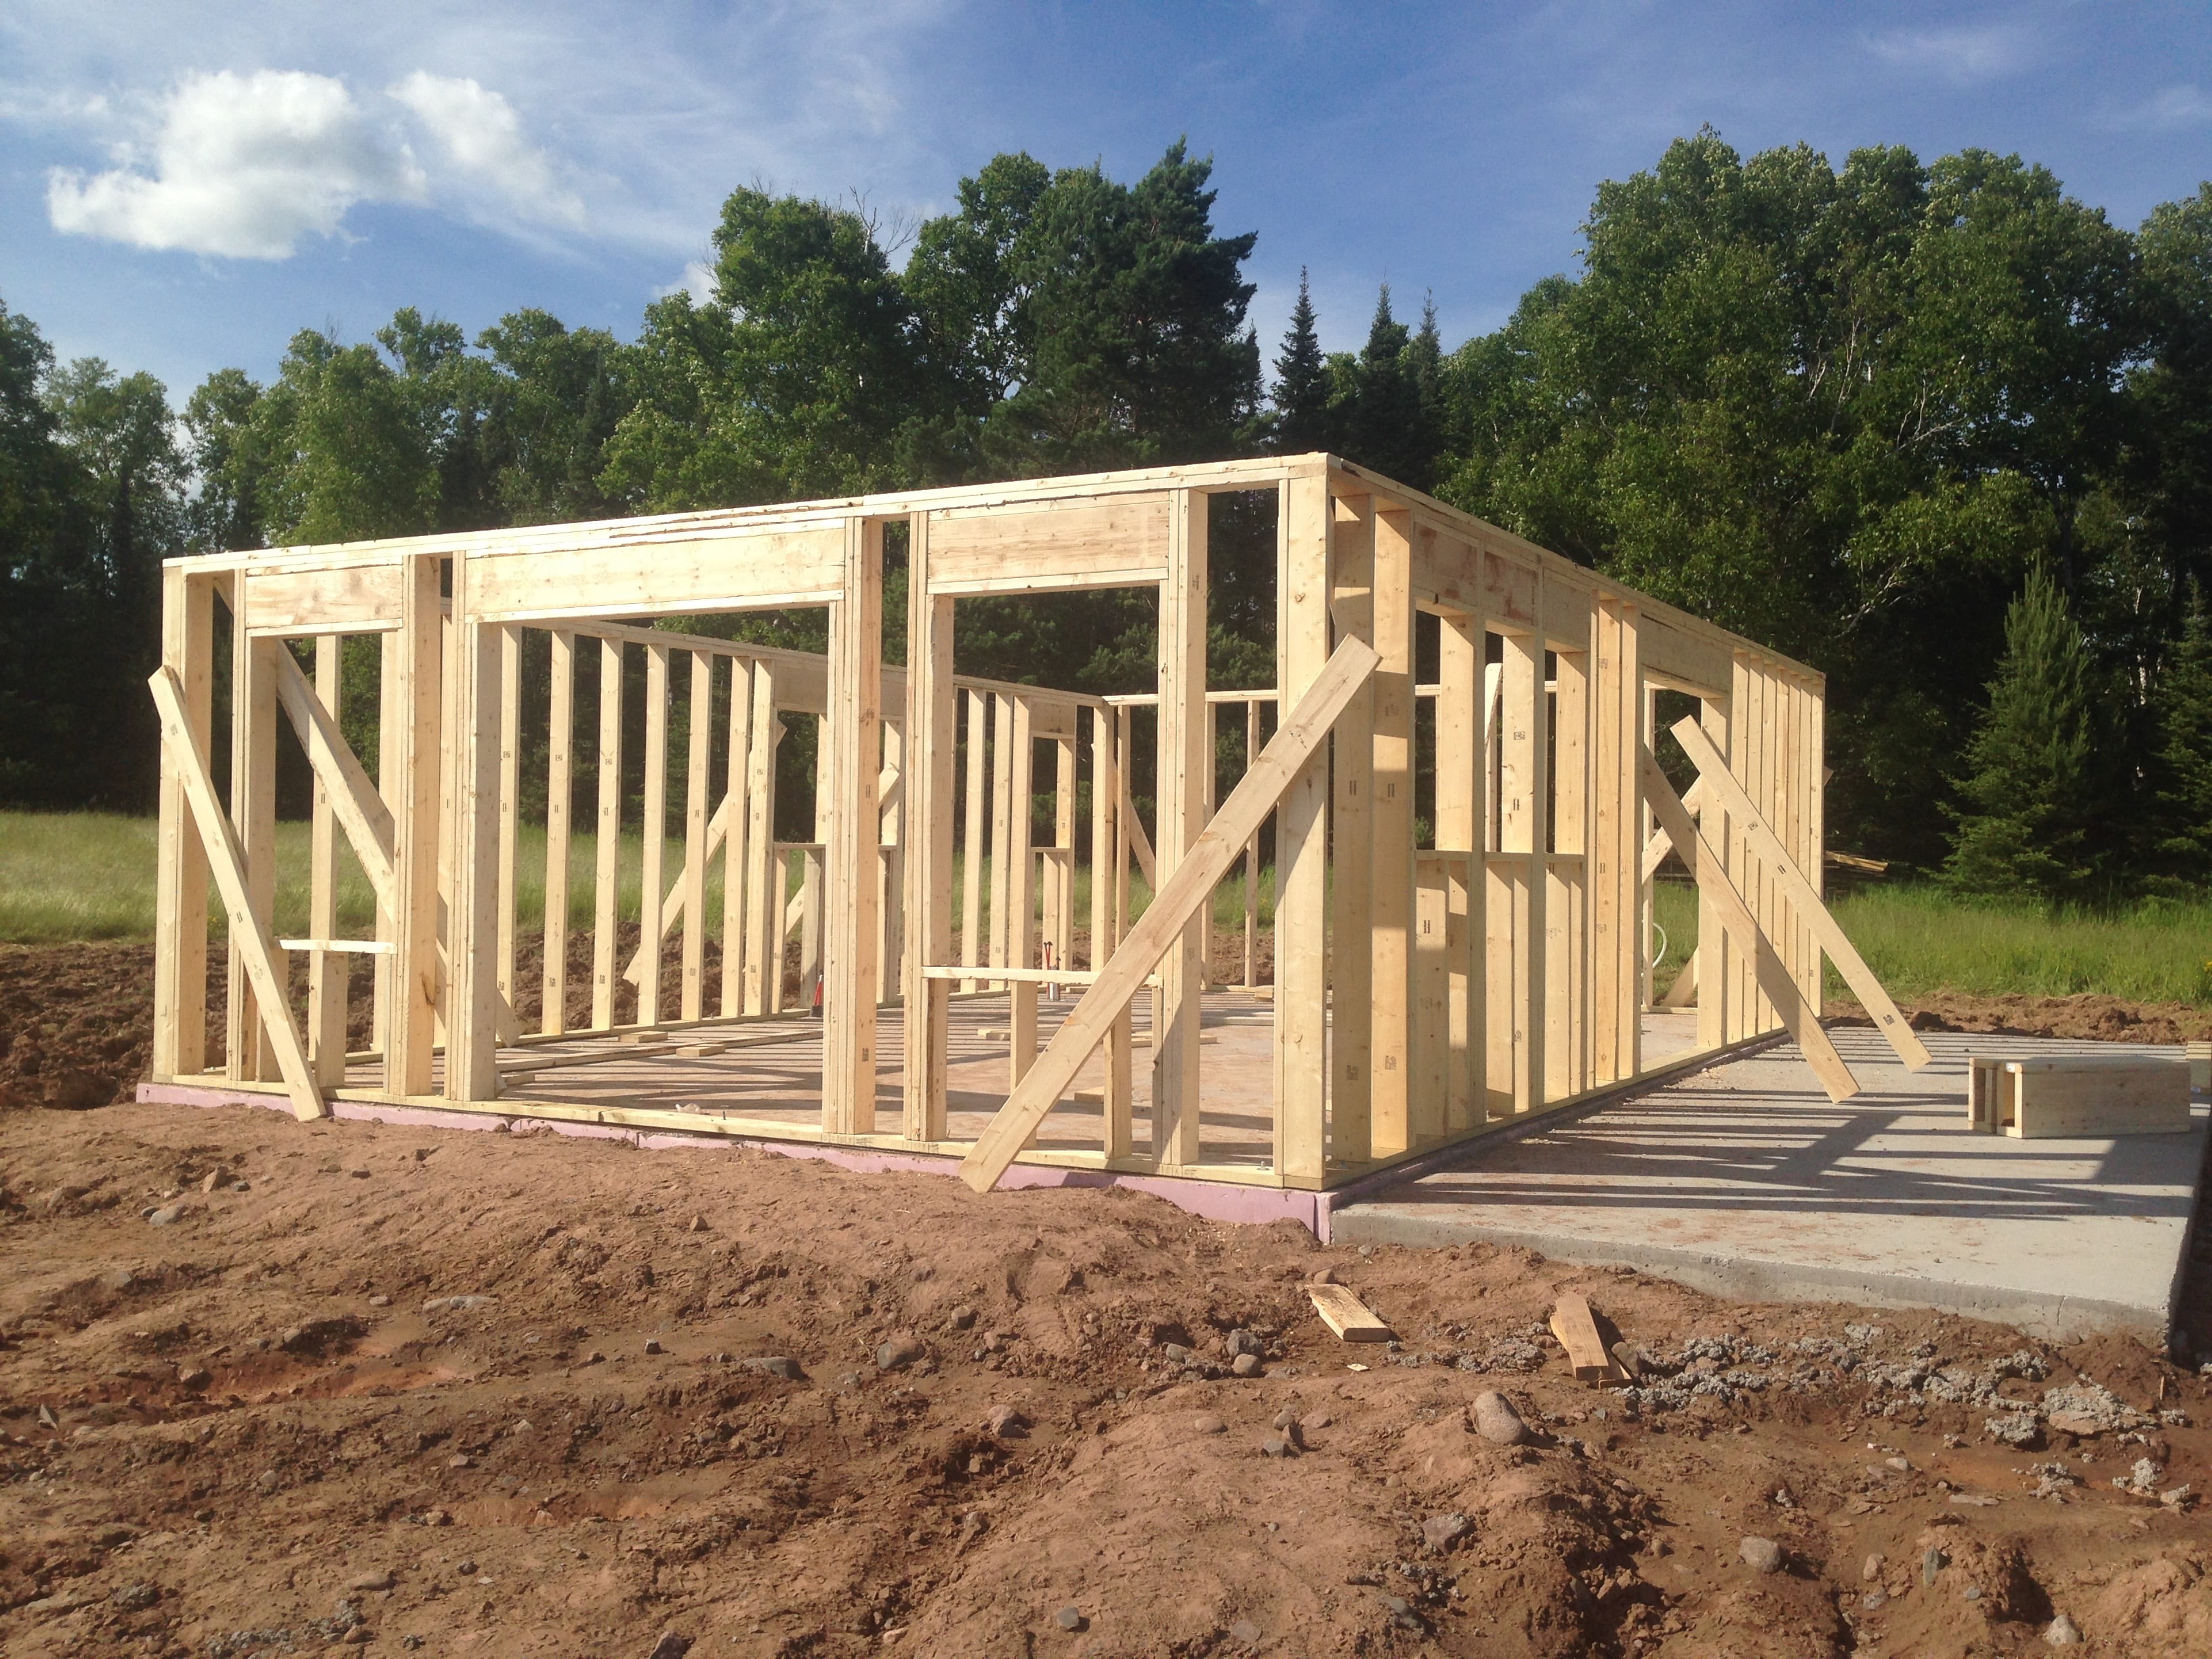
At the conclusion of Day 1 I was highly anticipating the progress of Day 2. Bre has always made fun of me for my horrible time-estimating skills, and for good reason – I’m never right. Because Day 1 saw so much progress (in my mind, since I was working alone, to get two walls framed up was pretty good), I thought we’d have the entire shell up in 20 days. I was just a little off.
Luckily, Bre was able to help me on Day 2 during the morning. My goal for today was to raise the east and west walls and then frame the north and south walls on the slab. If I was lucky, I figured I could get those up too. Unfortunately for me, I highly underestimated the weight of 30 linear feet of framed 2×6 walls. To make matters worse, we had framed several 2×10 headers for the patio doors and windows, and this thing weighed a ton.
I’m not one for asking for help very often. I loathe it in fact. It’s not because I think that I can do things better, it’s just that when I take on a project that’s all I can really focus on. Not small talk conversations, or explanations, I just like to work hard and get it done. So to avoid asking for help, I convinced Bre to help me build a gantry to raise the walls with our come-a-long.
It took short work to make the gantry, but our first attempt to raise the east wall practically blew it to splinters. My pathetic little gantry was no match. If you watch the time-lapse video of our build, you can see that sad little guy right about the 0:20 mark. It was short-lived.
Finally, I acquiesced to Bre’s wishes and I asked for help. Luckily, three of my coworkers were available to come out for some manual labor. Even more fortunate, one of them had actual construction experience. Using his skills, I was able to fill in my deficiencies. Between the four of us, we lifted the two walls up and set them in place. It only took us a half an hour.
Now here’s where I experienced another monumental issue – one that would again affect the rest of our build. Prior to raising the walls we struck chalk lines on the slab indicating where the sill should sit. The idea was to ensure that the middle of the wall did not bow in either direction – in or out.
To further complicate the issue, the slab contractor had only installed the anchor bolts in the south half of the house; as I mentioned in the Day 1 article I would have to drill and anchor the remainder of the sills later on. The problem is that holes needed to be bored through the sill place so the wall could be set over the bolts. I guess I’m not very good at math, because the walls just would not sit flush with our chalk lines. The middle of both the east and west walls bowed in just slightly – about 1/2”.
Here’s where my ignorance came into play. My coworker (with construction experience) says “just take a chisel and make the hole bigger, then drive the wall into place flush with the line with a sledge hammer.” Ok, no problem. Only it rained that night. No more chalk lines. So I shrug and think to myself, “how much of a difference is 1/2” going to make?” It turns out, it makes a big difference.

Sheeting, siding, interior tongue and groove – basically anything that spanned multiple studs took a lot more work to place due to the fact that the wall was not straight. I always figured that in general framing, it was ok to be off by a little bit; that’s why it’s called “rough framing.” Apparently, not in that aspect. The worst part is that it is visibly evident, which you can see from this exterior photo.
Back again on Day 2, prior to the rain, the guys were willing to stick around and help a little longer since we raised the walls so quickly. Again, having someone with construction experience was a boon! I was able to do the cutting while I had help delivering cut materials so that he could nail them into place. It essentially cut my work from the previous day in half.
By doing this, we were able to frame and raise both the north and south walls in no time. This took a little bit of work as we had to center the french door in the south wall due to the change in dimensions that differed from my plans. Once the walls had been raised, they were plumbed up and tacked with braces to await sheeting.

