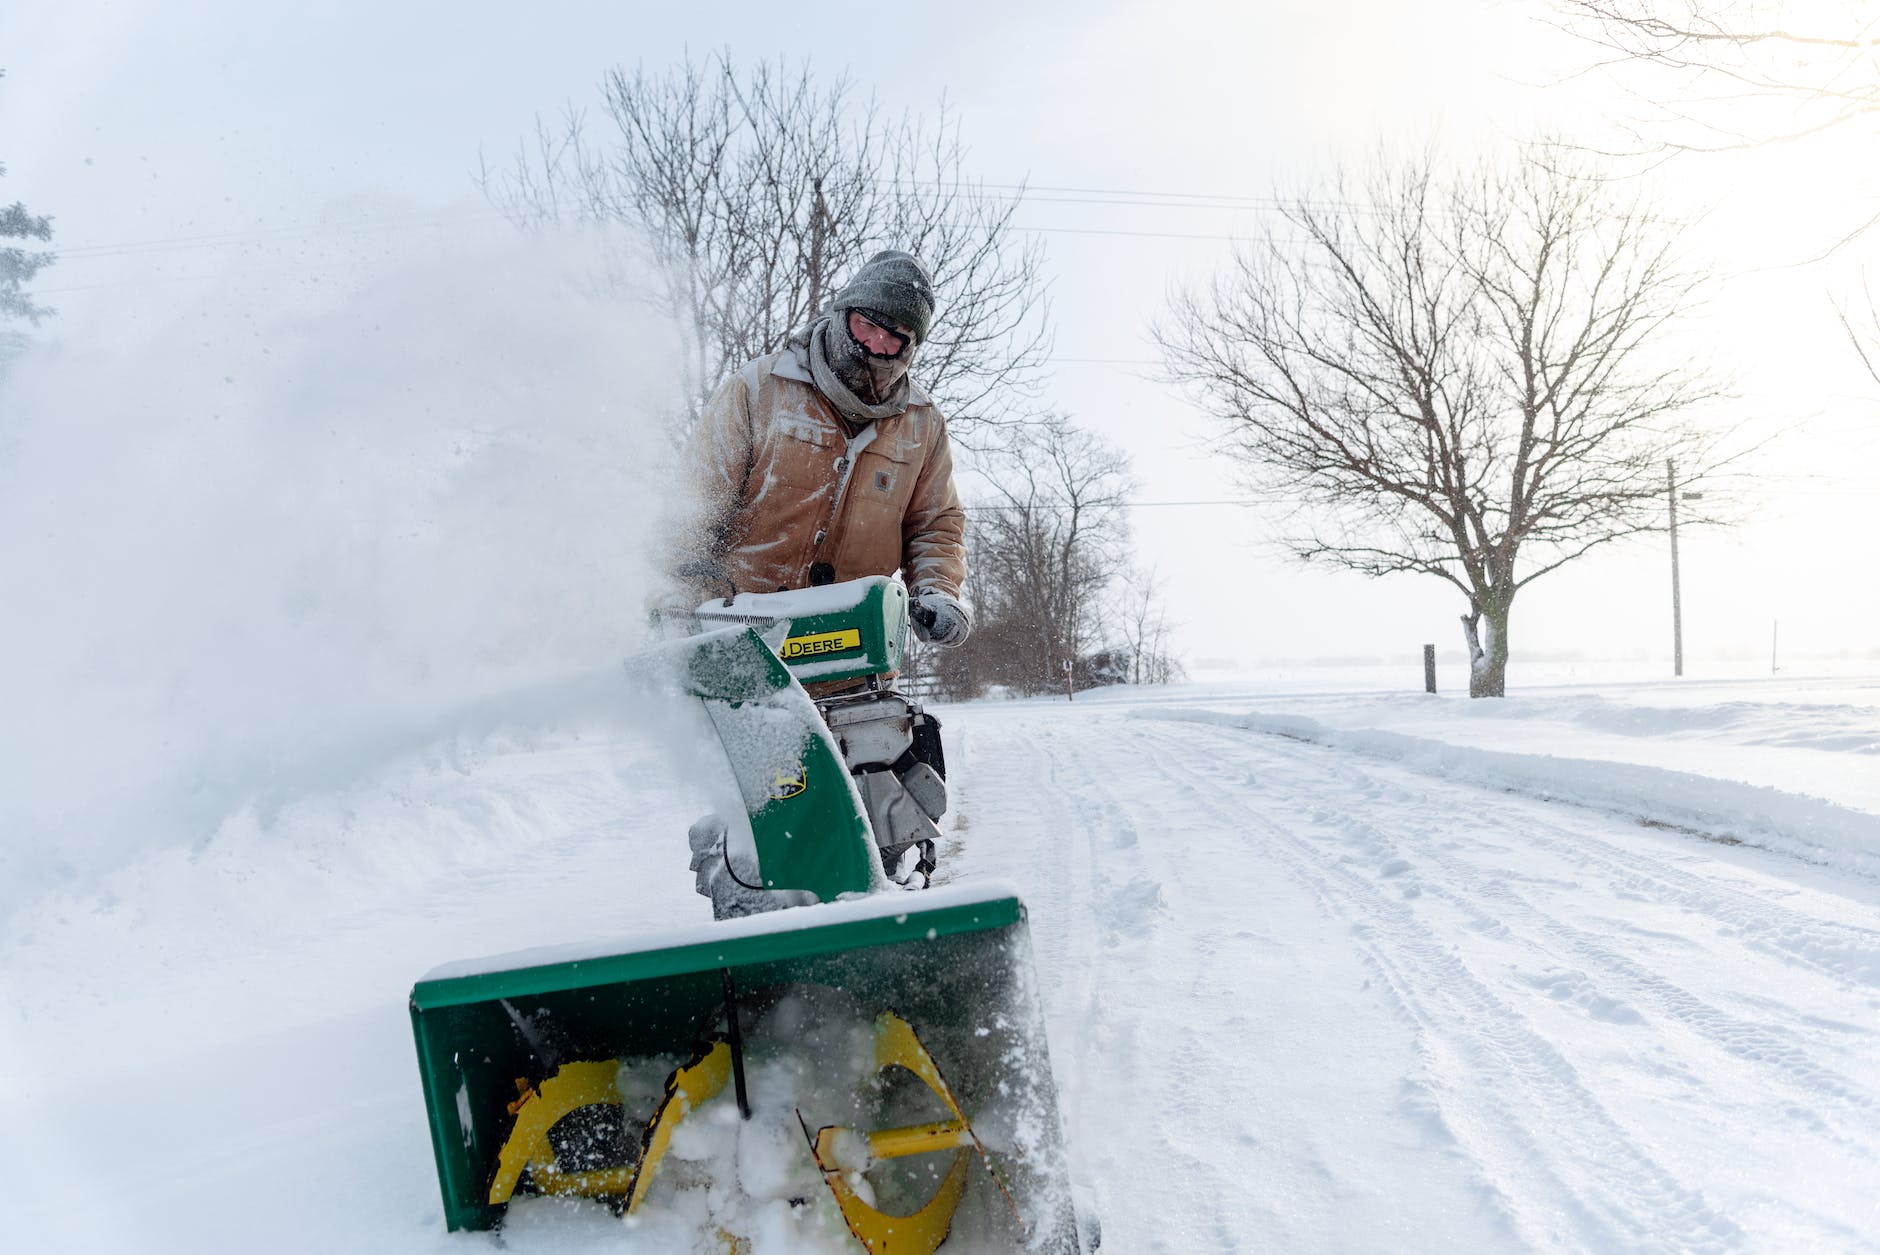
You need to replace your a snowblower primer bulb if it’s cracked or leaking. In this article, we’ll reveal how simple this repair is.
What is the primer bulb?
Before we can get into repairing the primer bulb, we need to understand what it is and how it works.
The primer bulb “primes” the fuel system to aid in starting the engine.
It’s the little bulb that you press a few times before starting the machine. That’s pretty explanatory, right?
How does the primer bulb work?
A common misconception is that the primer uses a vacuum to “suck” fuel from the tank and inject it into the carburetor.
In all honesty, I used to think this as well.
The truth is that the primer bulb injects air into the fuel tank. This causes a pressure difference between the fuel tank and the ambient atmosphere which causes the fuel to push to the carburetor.
The carburetor then uses this extra fuel, along with the choke, to create a fuel-rich atmosphere to make it easier to start a cold engine.
How does a primer bulb fail?
Primer bulbs have to be pliable to depress and then spring back to position. Since they’re made of a rubbery material, they will degrade over time.
This degradation will cause a bulb to harden, and it will no longer be pliable enough to return. Or, it could harden to the point where cracks develop.
If cracks are present, the air will escape instead of traveling to the fuel tank. In this circumstance, since air is not entering the fuel tank, fuel is not being forced into the carburetor.
How to diagnose a failed primer bulb
A visual inspection will usually diagnose a failed primer bulb. If you depress it, and it’s slow to return, then it needs to be replaced.
Or, if it feels real brittle and hard, go ahead and replace it.
Lastly, if you can visually see cracks in the bulb it needs to be replaced.
For further confirmation, you should be able to hear air entering the fuel tank and fuel gurgling through the system under normal operation. If you have access to the carburetor intake, you will see a small amount of fuel injected into the carburetor when it’s forced from the fuel tank.
How to replace a Toro snowblower primer bulb
The good news is that this is an incredibly easy fix. This is true for most machines, but the actual steps differ depending on your specific snowblower.
Primer bulbs don’t necessarily have to be OEM products. They’re cheap enough to replace frequently, and there’s no reason to pay extra for genuine ones.
Access
If you look at the mounting plate where the primer bulb is, you need to figure out how to access the back of it.
Sometimes, you’ll be able to directly access it as it sits. In other circumstances, you might need to remove an engine cover or shroud. These are usually held on with a couple of small bolts.
Remove the failed primer bulb and hose
Once you’ve gained access to the rear of the primer bulb, you’ll find two plastic clips that hold it in place. Simply depress the clips, and the bulb will pop out the front.
Note that you’ll also want to remove the rubber hose that goes to the carburetor. If your primer bulb has failed, then the rubber hose has also probably degraded to the point where it should be replaced.
This hose is just held on with friction, but as it hardens it can be difficult to remove. You can cut it off if you like since we’ll be replacing it, but I like to use pliers like these to help remove hoses. They provide extra surface area to grab onto the hose.
Install the new primer bulb and hose
The new primer bulb should come with a replacement hose as well. Simply repeat the steps in reverse to install the new primer bulb.
Recap
In terms of snowblower repairs, having to replace a Toro snowblower primer bulb is a walk in the park. If your primer bulb is not functioning correctly, I highly encourage you to perform this super simple repair.
As an Amazon Associate I earn from qualifying purchases.
