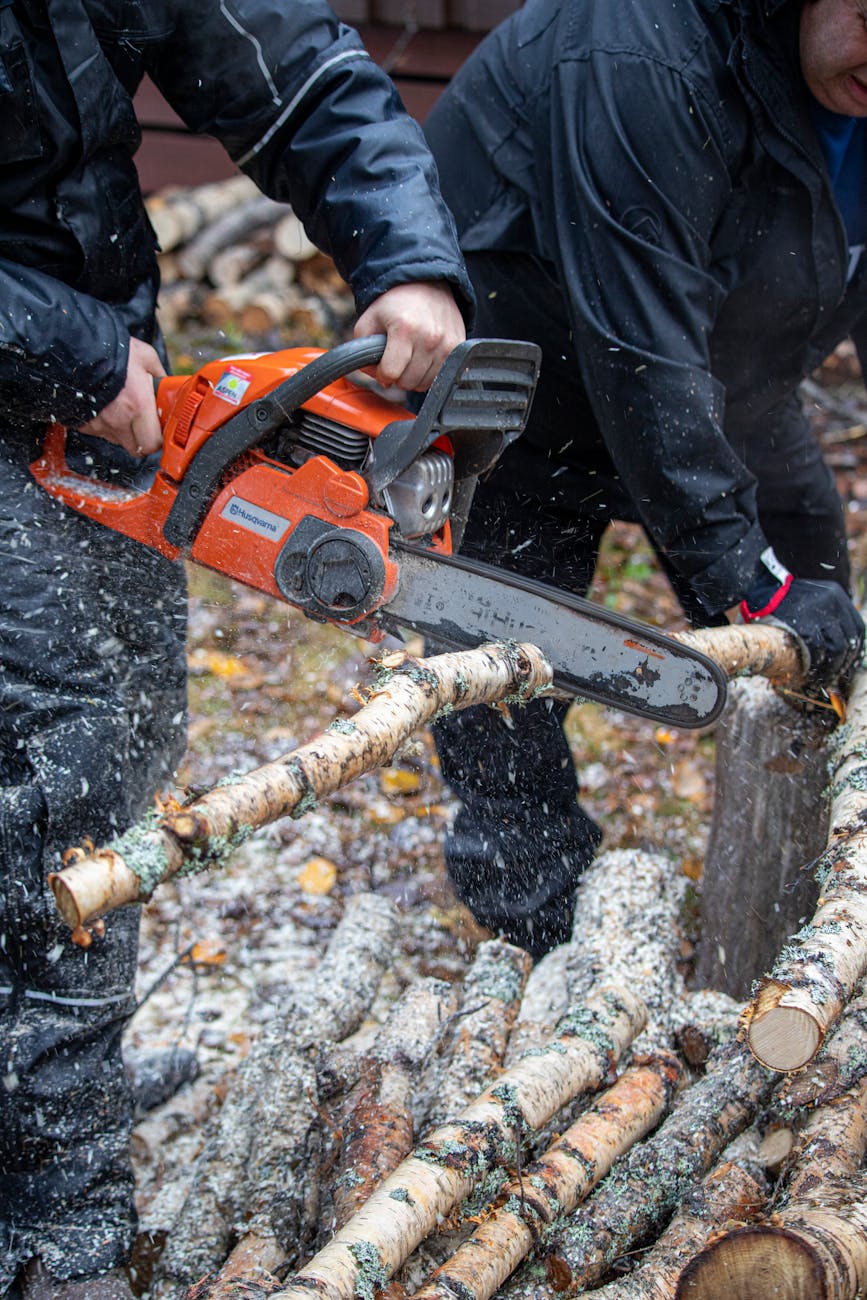
As a proud owner of a Husqvarna chainsaw, you know the importance of keeping your tool in top condition. A dull or damaged chain not only hinders your productivity but can also pose a safety risk. That’s why it’s crucial to replace your chainsaw’s chain regularly. In this comprehensive guide, we’ll walk you through the step-by-step process of Husqvarna chainsaw chain replacement, ensuring you can tackle any woodcutting task with confidence and efficiency.
Before we dive in, it’s essential to gather the necessary tools and materials:
- Replacement chain (compatible with your Husqvarna chainsaw model)
- Flat-head screwdriver
- Gloves (for protection)
- Cleaning brush
- Rags
Husqvarna Chainsaw Chain Replacement Instructions
Step 1: Prepare Your Workspace
Start by finding a clean, well-lit area to work on your chainsaw. Ensure the surface is flat and sturdy, providing a stable base for your chainsaw. It’s also advisable to lay down a tarp or cloth to catch any debris or spills during the process.
Step 2: Remove the Old Chain
With your chainsaw placed on the work surface, locate the side cover and use the flat-head screwdriver to loosen the bar nuts or chain tensioner (depending on your model). Once loose, carefully remove the side cover, exposing the chain and guide bar.
Next, take hold of the chain and guide bar, and gently pull them away from the chainsaw body. Be cautious, as the chain may still have some tension and could cause injury if not handled properly.
Step 3: Clean the Components
Before installing the new chain, it’s essential to clean the guide bar and the area around the sprocket. Use the cleaning brush to remove any built-up debris, sawdust, or residue. This step ensures that the new chain will run smoothly and prevent premature wear.
Step 4: Install the New Chain
Carefully remove the new chain from its packaging and lay it out on the work surface. Inspect the chain for any damage or defects before proceeding.
Next, place the guide bar back onto the chainsaw, aligning it with the sprocket. Ensure the bar is positioned correctly and secured in place.
Starting at the sprocket, carefully feed the new chain onto the guide bar, following the direction of the cutting teeth. Take your time and ensure the chain is seated properly on the bar and sprocket.
Step 5: Adjust the Chain Tension
Once the chain is in place, it’s time to adjust the tension. Refer to your Husqvarna chainsaw’s user manual for the recommended tension settings. Typically, you’ll want the chain to have a slight amount of play, but not so loose that it can easily be pulled off the guide bar.
To adjust the tension, locate the chain tensioner (usually a knob or screw) and turn it clockwise to tighten the chain or counterclockwise to loosen it. As you adjust the tension, gently pull on the chain to check its movement along the guide bar.
Step 6: Reattach the Side Cover
When you’ve achieved the correct chain tension, it’s time to reattach the side cover. Carefully align the cover with the guide bar and secure it in place using the bar nuts or chain tensioner. Tighten the nuts or tensioner according to the manufacturer’s specifications.
Step 7: Final Checks and Lubrication
Before starting your chainsaw, it’s essential to perform a few final checks. Ensure the chain moves freely along the guide bar and that there are no kinks or binding. Also, check that the chain brake (if applicable) is functioning correctly.
Finally, apply a generous amount of high-quality chainsaw bar and chain lubricant to the guide bar and chain. This will help reduce friction and extend the life of your new chain.
Congratulations! You’ve successfully replaced the chain on your Husqvarna chainsaw. With a sharp, well-maintained chain, you’re ready to tackle any woodcutting task efficiently and safely.
Remember, regular maintenance is key to keeping your chainsaw in top condition. Be sure to follow the recommended maintenance schedule in your user manual, which may include tasks such as air filter cleaning, spark plug replacement, and overall cleaning and inspection.
Safety First
While replacing the chain on your Husqvarna chainsaw may seem straightforward, it’s crucial to prioritize safety throughout the process. Always wear protective gear, such as gloves and eye protection, and never attempt to work on a running chainsaw. Additionally, familiarize yourself with the safety features of your specific chainsaw model and follow all manufacturer guidelines and warnings.
Recap
Replacing the chain on your Husqvarna chainsaw is an essential maintenance task that ensures optimal performance and longevity for your tool. By following these step-by-step instructions, you can confidently tackle this task and keep your chainsaw running smoothly for years to come. Remember, a well-maintained chainsaw not only increases productivity but also enhances safety during operation.
As an Amazon Associate I earn from qualifying purchases.
