I needed to make more drawers for the kitchen cabinets that we’re building. At the conclusion of part 3 I had only finished four, or half of the amount we needed for our cabinet. The process for the rest of the drawers is quite similar to part three, with the only distinction being that the dimensions were different.
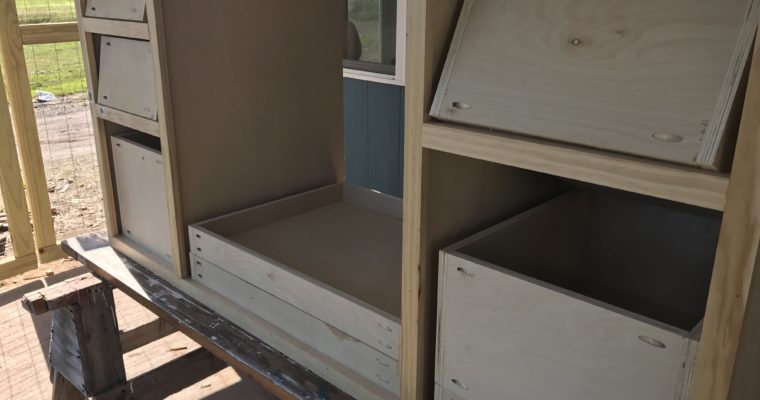
Because the three cavities on drawers in our design differ in dimension, this also required the widths of the drawers to be different. Other than that, the process for constructing the drawers is the same. Cut the required pieces to the needed dimension, drill out a bunch of pocket holes, and attach. To fix the pieces together, I used a bead of wood glue as well as 1 1/4″ Kreg screws.
I did make one mistake which I point out in the video, and that’s for the drawers in the center cavity. I accidentally drilled the pocket holes in the side pieces instead of the front and back; I figured this out when I went to construct the drawer. In order to rectify my error, I just drilled new holes on the correct pieces and then filled in the previous holes with pocket hole plugs. They’ll be visible on the sides, but it’s better than having an empty pocket hole showing.
Overall, building the last four drawers for the kitchen cabinet only took me a couple of hours. It’s amazing how much faster the same process can be on an entirely different day. In part three, it took me about four hours to construct the four. In part four, I cut that time in half and it only took me two hours for the remaining four.
I hope that by following this build you can see how entirely possible it is to construct your own custom kitchen cabinets without paying exorbitant costs for prebuilt ones.