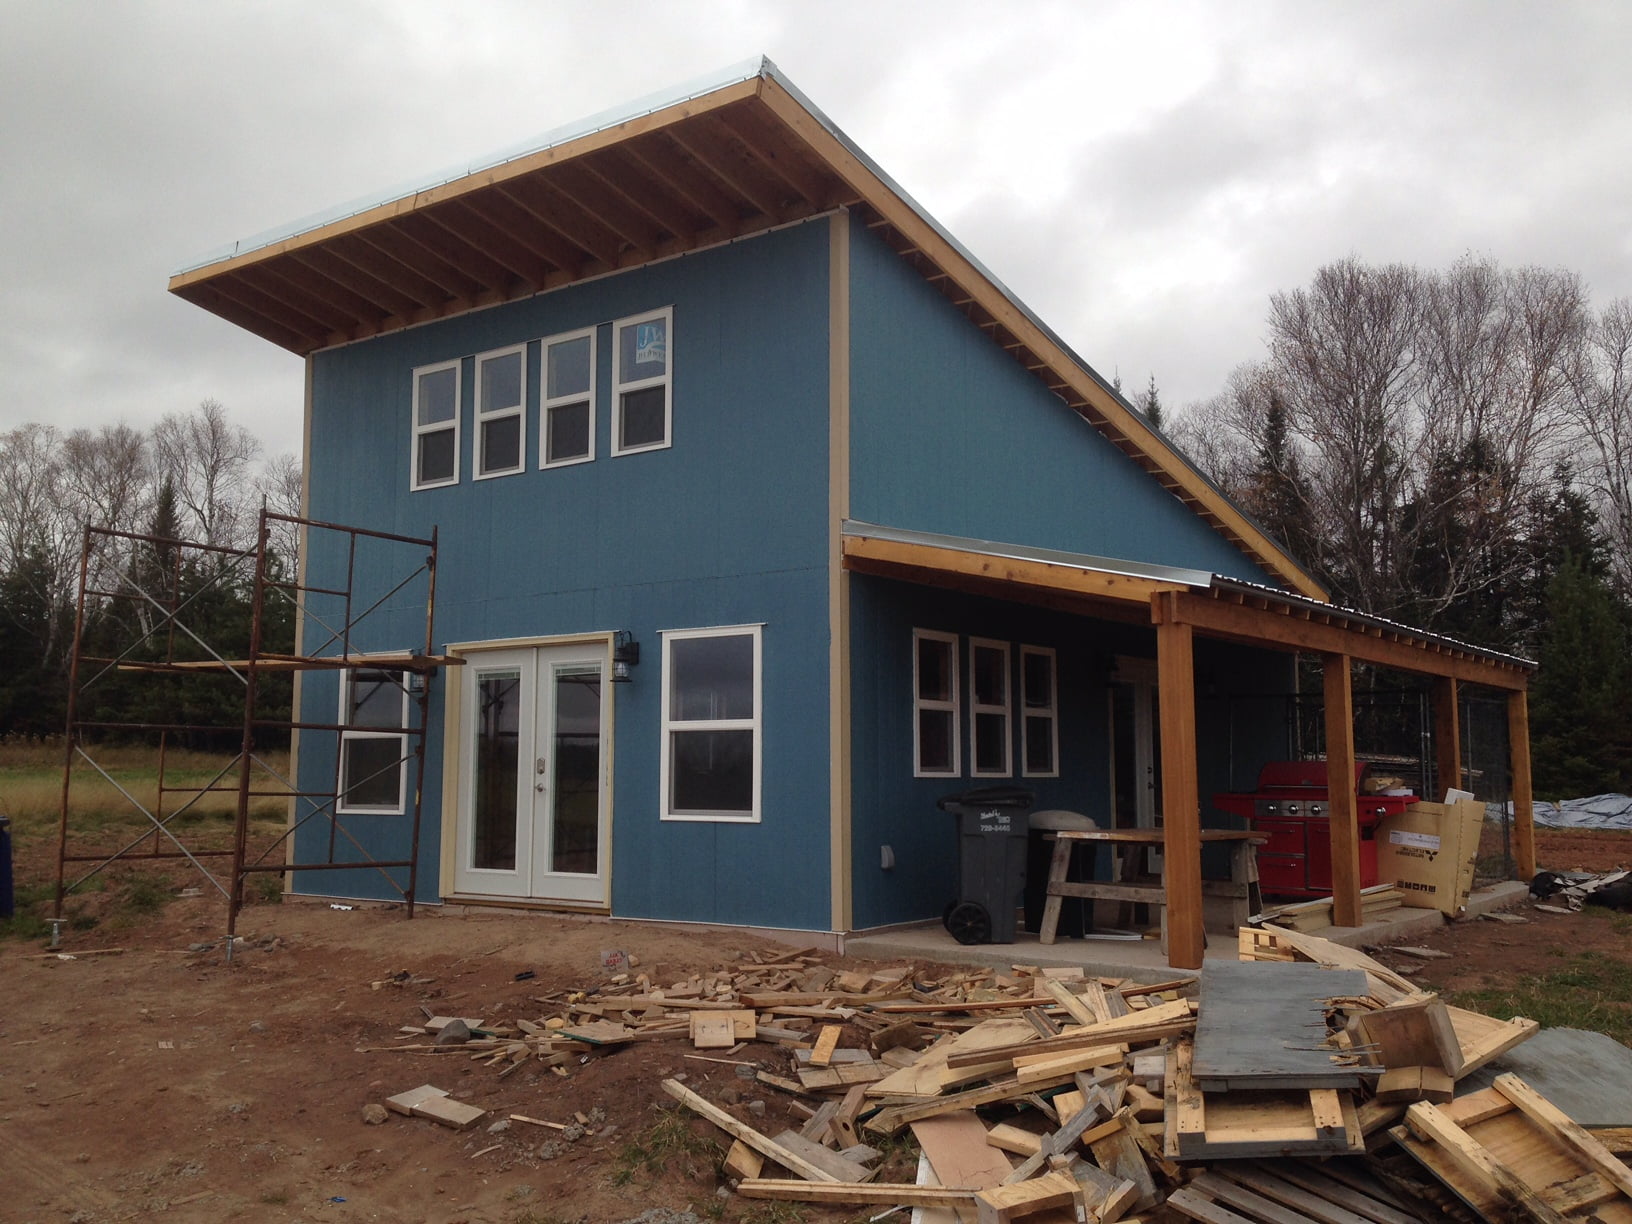
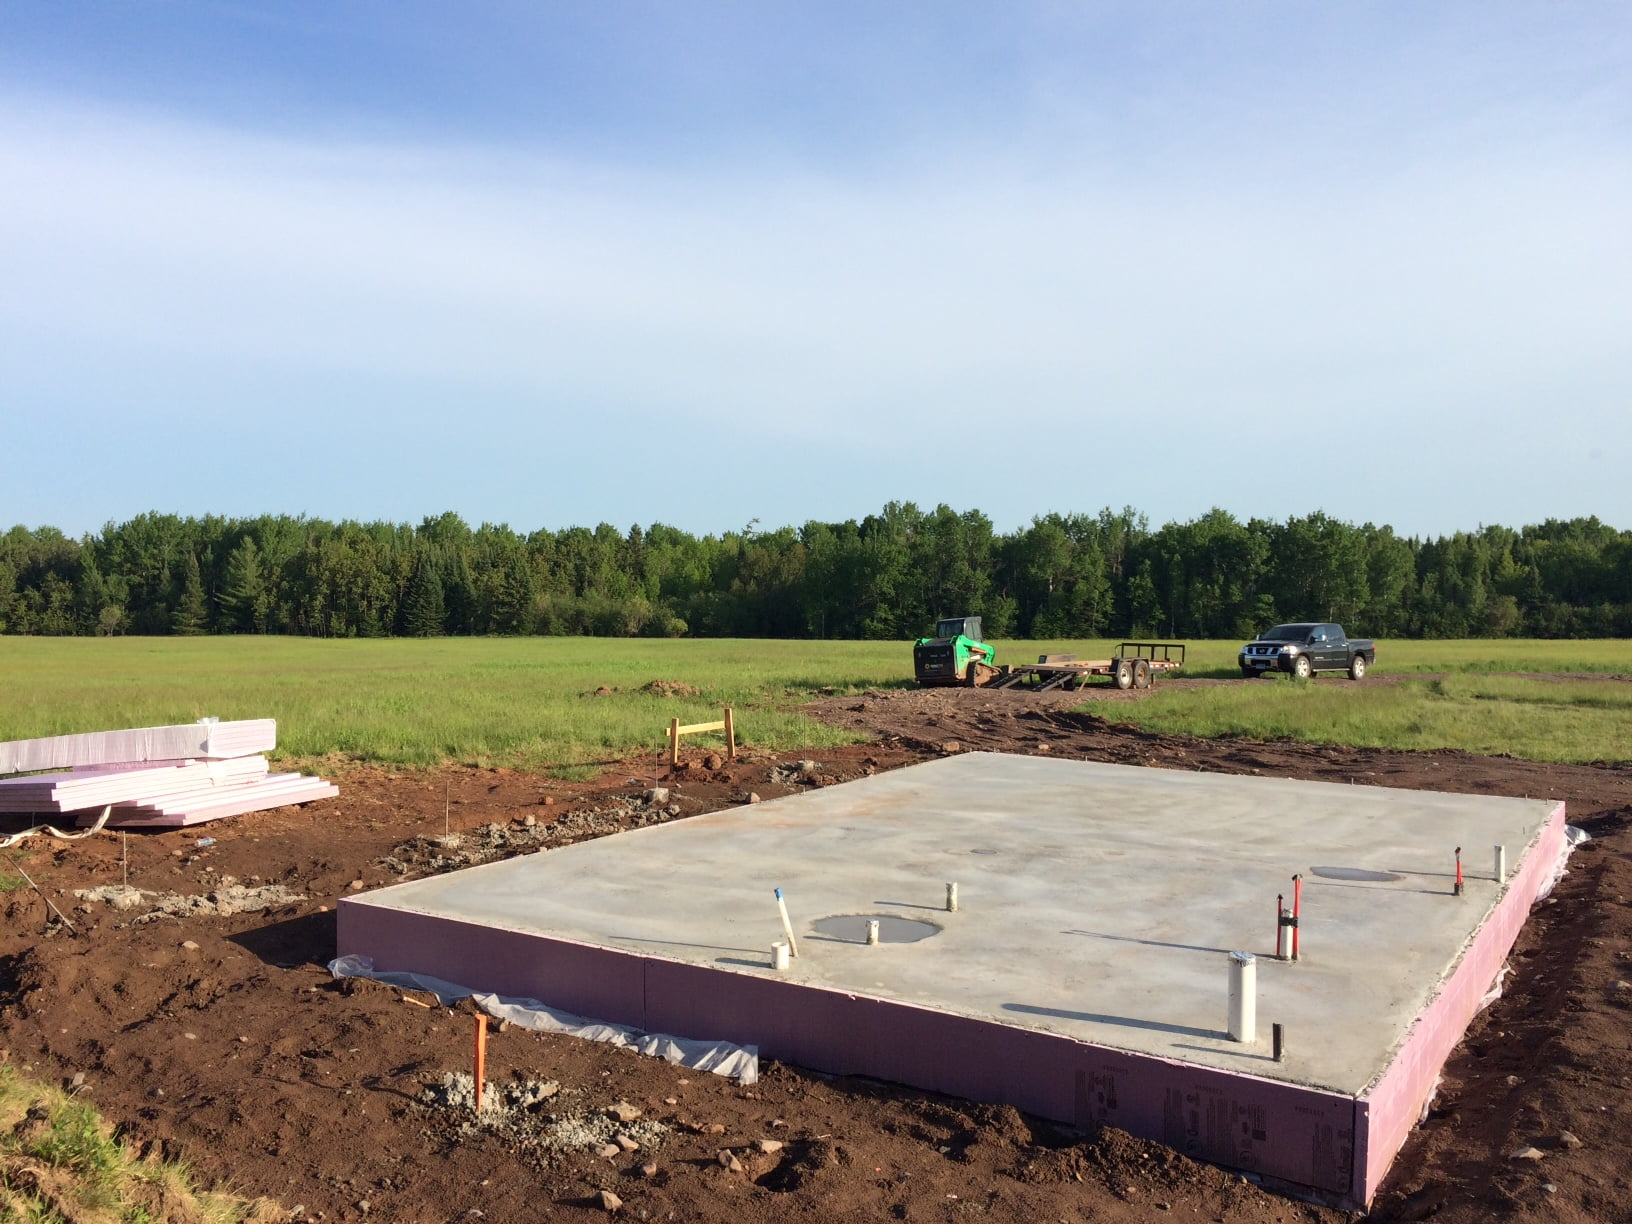
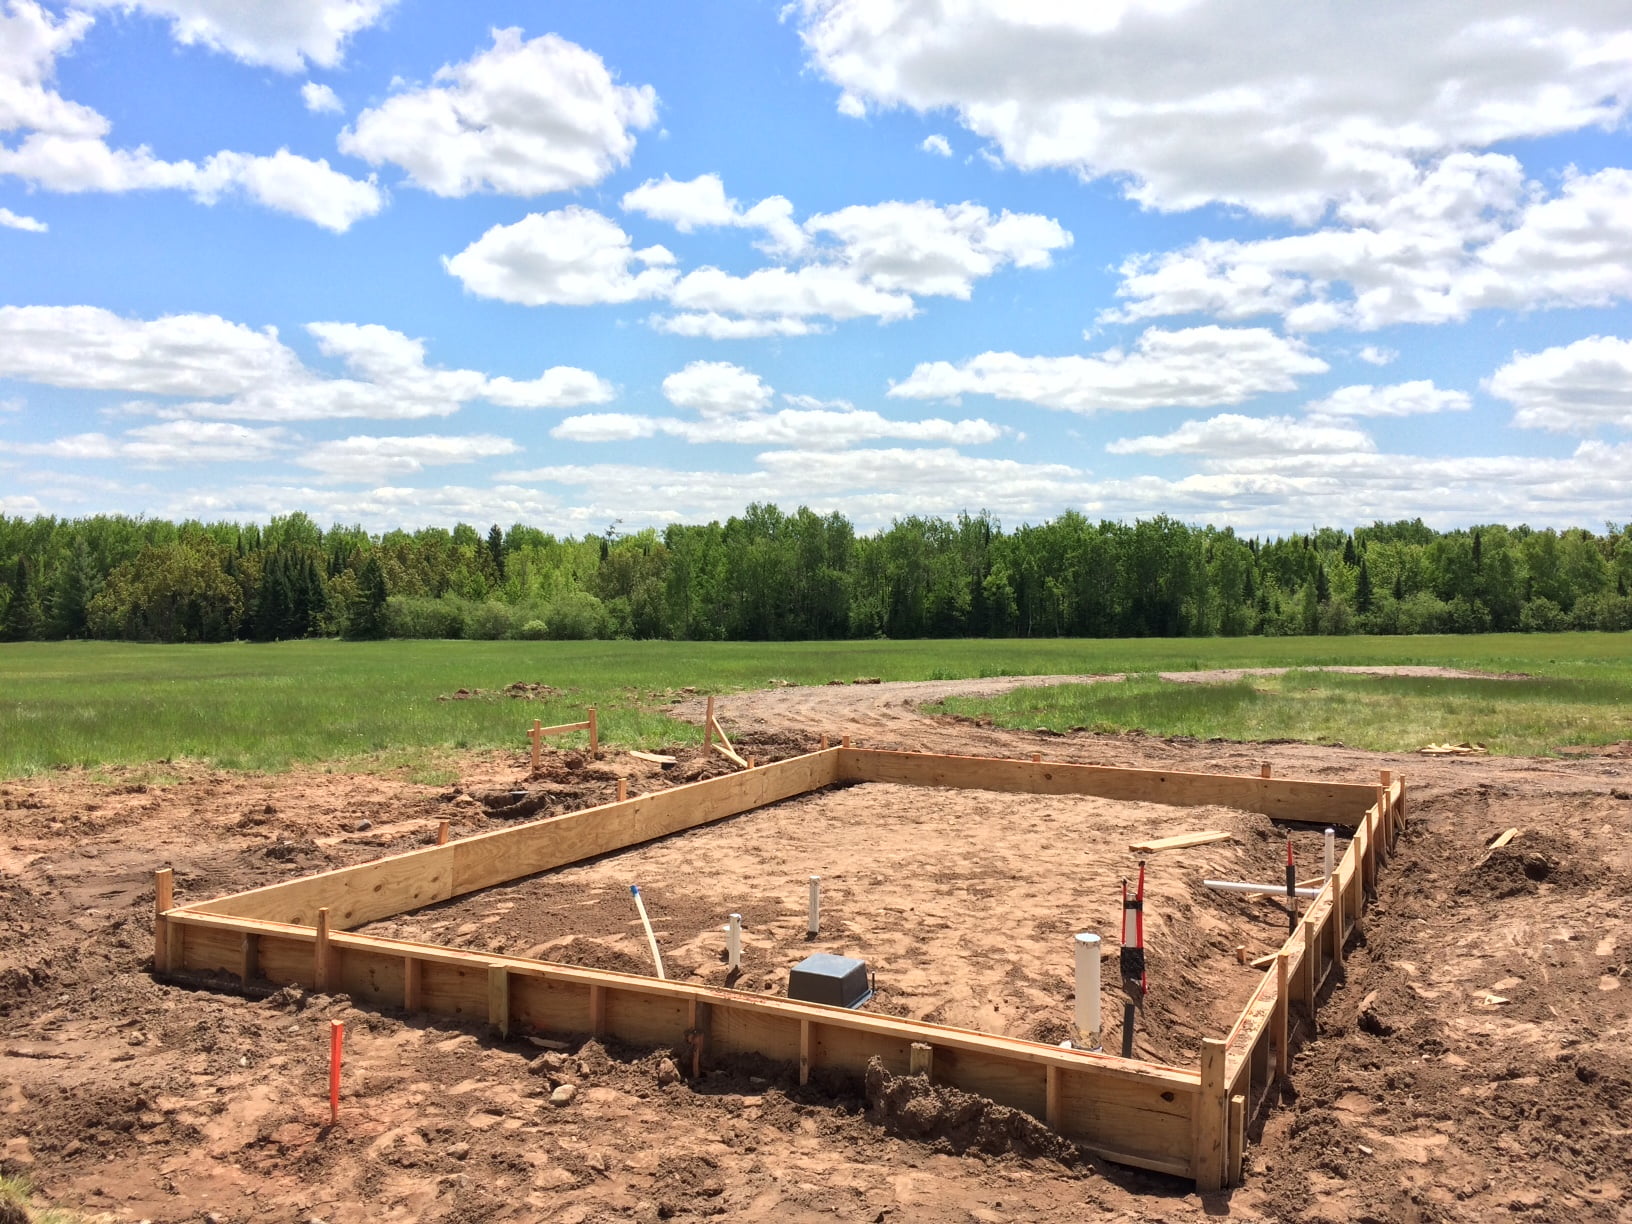
It was painstaking work for us to trench for our electric. Bre and I had rented a dingo trencher, dug some by hand with an adze, our bare hands, laid the cable, and prayed for our inspection to pass. Luckily, it did. And there were no questions about it either. The inspector came out and checked out the depth of our trench; he also took a look at our temporary panel in the little red shed. I was nervous that the depth of our trench would not be sufficient or perhaps there would be some flaw with how we wired the panel. I had heard horror stories about electrical inspectors and I had just assumed that this would be unpleasant. I couldn’t be more wrong.
Now that we had our cable trenched and laid in, we needed to hook it up to our “temporary” panel. I use quotes around the word temporary because it both is and isn’t. It will be temporary while it is in the shed, but once the cabin is up it will then become the electric panel for the cabin. At that point, we’ll just disconnect it from the shed, dig up the cable, and trench 20 feet or so to the cabin. You see? There is a method to my madness. Instead of doing a separate, outdoor temporary panel, this way we could use the same one and not have to trench the whole length later.
When we had initially reached a purchase agreement on our property, one of the first things we did was researching how much it would cost to install a driveway and electric service. Driveway estimates for a 2,000 foot driveway came back between $26,000 and $50,000, and the electric estimate from our provider was at $12/foot or $24,000. One of our primary goals with establishing a homestead is to become more self sufficient and not beholden to utility companies, so we researched the feasibility of solar opportunities for electric service. Our area has surprisingly good solar access which would provide for all of our needs – at a cost of $60,000. The big ticket item was for the batteries needed to store all of this electricity gained as our system would be off grid.
Repairing the shed was pretty straightforward, although I was met with a little more unfortunate discoveries. While the shed was still lifted on the trailer, I was able to get underneath and marry new 2×8 joists next to the rotten ones. I didn’t remove the rotten ones because I thought it would do more damage than it was worth to try to do so. I added 3 new joists, and then put on 2 new rim joists.
While I was doing this, I had to jack up the existing joists to hold the floor up as the sill plate had also completely rotted away. If I removed any support, the joists and floor would completely pull away from the sill. This leads me to my next adventure, but it can wait. Next year I will be replacing the siding as well as the rotten sill plates. I figured that once the shed was back on the ground it would not be an immediate need, and also one that I could fix while it was on the ground. Here you can see the new joists as well as some of the damaged siding. (more…)
So it took me 3 days to actually move the shed, but it is finished. We were blessed with wonderful weather over the past week and a half which helped dry up the soil in order for us to move the shed. It’s a good thing, because the shed was MUCH heavier than I expected it to be. This post will detail the steps of how to move a shed. Keep in mind that I am definitely not an expert and there is a great degree of danger in a project such as this.
On Friday I went out and removed the block retaining walls that held back two small gardens. I also removed various gardening supplies that were stored adjacent to the shed in order to gain better access. I had purchased two ten foot treated 4×6’s for new skids underneath the shed. Although the bottom of the shed was not visible due to the gardens and stored materials, I was fairly certain that the shed did not have skids and I wanted to add new skids both for support during lifting and also in the event that we’ll need to move it in the future. Although skids typically run perpendicular to the floor joists, I ran mine parallel to the joists so that I could use them to support the shed in the air and back the trailer underneath.
This is how it looked after the first day, but you can see how I used the skids to support the shed. The supports were placed far enough to the side to still support the skids, but allow room for the trailer to be backed underneath it. As the skids are 120″ and the trailer width at its widest is 99″, I limited my support to 6″ on either side. This left me with 4.5″ of clearance on either side once the trailer was in place. In order to lift the shed this high, I used a high lift jack to slowly lift each side high enough to slide the skids underneath. I then switched to a bottle jack to lift the skids directly. This was because I set the skids in about a foot from the edge, and the hi lift jack could not reach the skids. The rim joists of the shed were partially rotted from soil contact, as well as three of the front floor joists. It was definitely sketchy lifting the weight of the shed with this rotten support, and the floor started to separate from the sill plate. I then used a bottle jack to lift a 2×6 up and sandwich the floor up to the sill and screwed the 2×6 in to place to hold the floor. After the shed was on the skids it was more stable, but as time went on the rotten rim joist kept giving way on the front left side so the shed progressively leaned more and more to that corner. It took me 8 hours to get the shed to this point – about 12″ off the ground.
On day two, I was lucky to have my friend Andy come out to help me. My stepmother was also home to help, and it’s a blessing that both were there as this day would have been almost impossible without them. We started by removing the garden soil in front of the shed. We needed this both for access and also to get the soil height down to match the height underneath the shed so that the trailer could ease in to place without a drastic change in height. We were careful not to disturb the soil near the cinder block supports. Then, we went around and shored up all of the supports. Having been left overnight, some of the cinder blocks had begun to lean in to the soil one way or another. On the left side of the shed, the clay soil was still frozen on day one. However, by day two the soil had begun to thaw and the cinder blocks were leaning precariously. This took us quite some time to adequately shore up all four supports, but we knew it was necessary as the shed would be increasingly more dangerous the higher we lifted it. After shoring up all the supports, we went back at it lifting. We found out that the fastest and safest way to lift was by placing the hi lift jack in the center of the two short walls – the front and back. When we tried lifting the skid on each corner, the whole shed would slide one way or another, but by lifting in the center it would remain stable. As the skids were not attached yet due to the rotten rim joists, we’d have to lift the shed, manually lift the skid, and brace underneath it. Even though this took a little more work, it went much faster this way and kept the shed from sliding. Going front to back, we were able to lift a few inches at a time and keep the shed relatively level.
Next we had to try to get the trailer underneath the shed. As I mentioned, there was little clearance and little room for error. My thought was that we could just back the trailer near the shed and then move it underneath by pushing it. We quickly found out that the car trailer was much to heavy for this, and I had to attempt to back the trailer all the way underneath the shed without knocking any supports out. To make things even more complicated, there is a fenced vegetable garden and a 20′ spruce tree in front of the shed, which only allowed for just over 10′ of clearance. Oh, and there’s also the fact that I am horrible at backing up trailers. Thankfully, I had two spotters on hand to make sure that I wasn’t going to hit anything. After 5 tries, I was able to back the trailer perfectly underneath the entire shed, and we all shared a collective sigh of relief.
The last thing that we wanted to do this day was lower the shed down onto the trailer and off of the supports. Initially we thought of using the same tactic that we tried when lifting it – lifting in center front and back, removing a block and lowering down to the trailer. However, as we applied pressure to the decking of the trailer, the wheels of the trailer absorbed the pressure and the trailer went down instead of the shed going up. Regrouping, we went back to our original method and started lifting the corners individually. We did the front left (rotten) corner first without a hiccup. This only dropped the skid, but as the rim joist had rotten out about 6 inches, this left the shed in the air those 6 inches without support. The thought was that if we lifted the front right corner, it should drop the left corner. As soon as we lifted the front right corner, with the left corner unsupported, the entire shed slid to that corner about a foot. I was fairly certain the whole thing would slide right off the trailer, and it ruined my perfect trailer placement underneath! We attributed this error in judgement to being tired and complacent at the end of a long day. Seeing no quick fix, we decided to leave it for the next day.
Back on Sunday with a fresh mind, I was accompanied by Bre and again my stepmother to help. We started by trying to straighten out the shed on the trailer. Using a come-a-long and some manually pushing, we were able to move the shed back about 8 inches, so almost straight. Then Bre suggested a brilliant idea which I wish we had thought of the day prior. Why don’t we block underneath the trailer where we’re trying to lift in order to prevent the trailer from going down. This worked wonderfully. We were able to lift the shed, remove the supports, and lower it back down onto the trailer without any issues. I then attached eyebolts to the exposed eave rafters, and we secured the whole shed to the trailer with 14 ratchet straps.
Now, all we had to do was try to ease the shed out from between the garden fence and that spruce tree. As I said, the skids are 10 feet long and the clearance was just over 10 feet. As I inched closer, we realized that there was just no way and the tree would have to come down. I should have taken the tree down before the truck and trailer were there, but I wanted to try it anyways because I abhor killing trees unnecessarily. Anyways, it appears that my chainsaw skills could use some more practice as I declined the advice to tie the tree off. I was pretty sure that I could drop it exactly where I wanted it, only I made my cuts in the wrong order, and the tree came down exactly 180 degrees from where I wanted it – on the truck. I was glad that I was using dad’s plow truck to move the shed instead of my truck. It’s a good thing that we’ll be living on the homestead soon so that I can get ample opportunities to practice my chainsaw skills.
After I had cleaned the tree off the truck, we were able to haul the shed out from behind the garden and out to the driveway to inspect everything before the trip.
The shed sat right at the road limits of 13.5′ tall on the trailer. I also knew that there were some low hanging wires across the road along the way. Furthermore, there were a couple of hills that frightened me as I wasn’t too sure how much all of these ratchet straps could prevent that kind of weight from toppling. As we only had to go two miles, I sucked it up and we started off. Bre trailed us in my truck while my stepmom rode with me in the plow truck. Going quite slow, we were able to make it to the land in no time and without any issues. This was, surprisingly, the easiest part of this whole project.
At this point, I left it up on the trailer on the land as I wanted to fix the rotten rim joists and floor joists while it was up in the air and supported by the trailer instead of the cinder blocks. That and lowering the trailer will be the next topic we discuss.
It’s been some time since my last post, and even longer since my last video was made. I’ll get into more depth through the course of this discussion, but I thought it was time to update everyone on the progress we’ve made in creating our homestead. It seems as though almost every day someone is asking me for a progress update and if we’ve started building, so I thought it would be easiest to just talk about that. Also, I am going to try to coordinate this with a video post, so hopefully soon there should be a video attached here. If you’d rather watch the video than read this whole post, just click below.