Repairing the shed was pretty straightforward, although I was met with a little more unfortunate discoveries. While the shed was still lifted on the trailer, I was able to get underneath and marry new 2×8 joists next to the rotten ones. I didn’t remove the rotten ones because I thought it would do more damage than it was worth to try to do so. I added 3 new joists, and then put on 2 new rim joists.
While I was doing this, I had to jack up the existing joists to hold the floor up as the sill plate had also completely rotted away. If I removed any support, the joists and floor would completely pull away from the sill. This leads me to my next adventure, but it can wait. Next year I will be replacing the siding as well as the rotten sill plates. I figured that once the shed was back on the ground it would not be an immediate need, and also one that I could fix while it was on the ground. Here you can see the new joists as well as some of the damaged siding.


 With the bulk of the repairs done I was ready to lower the shed to the ground. Since I was alone on Monday, I wanted to ensure that the supports were as sound as possible. I doubled up all of the cinder blocks and laid them crosswise to ensure stability. Even so, it was a little sketchy because I had to lift the front of the shed 8″ higher than the back of the shed in order for the front skid to clear the fender of the trailer.
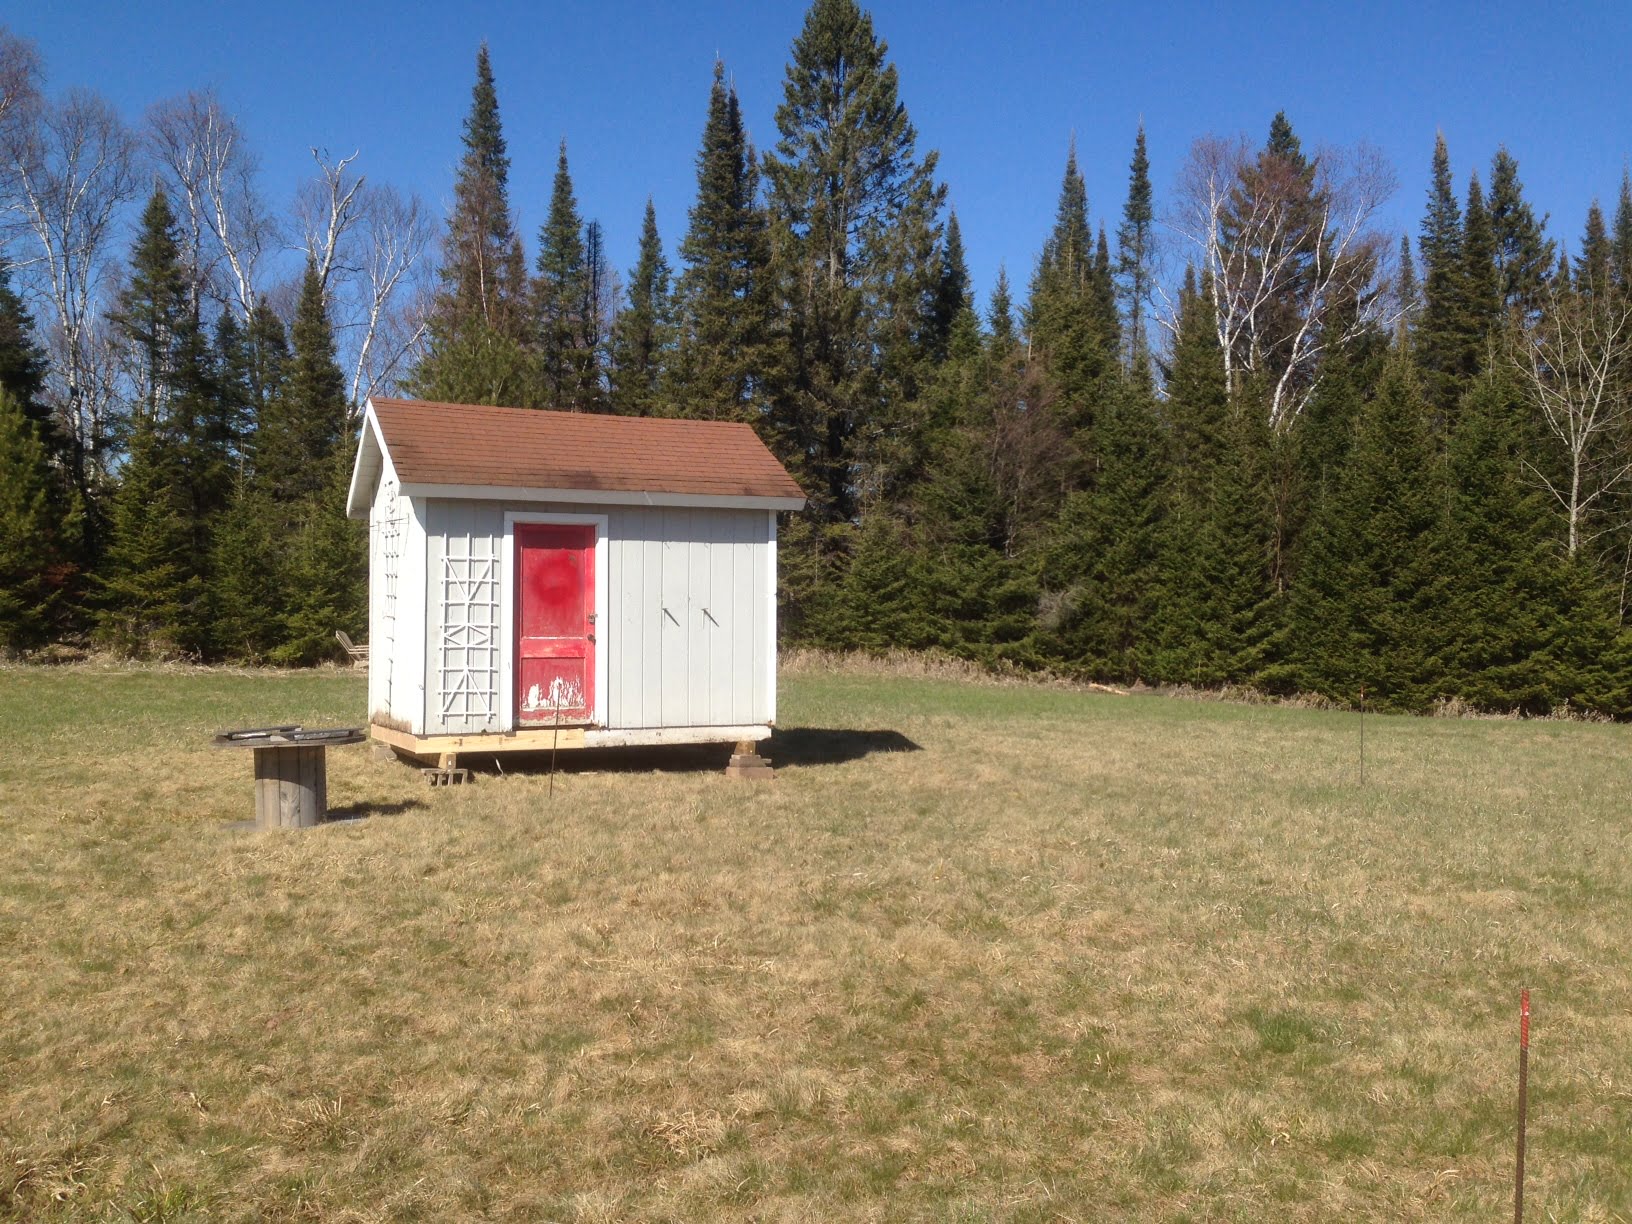
Thankfully my beefed up supports worked well and the hi lift jack was able to easily lift up the front and back, one at a time, so that I could remove cinder blocks one at a time. This allowed me to drop the shed 8″ at a time, front and back. After just a few minutes, the shed was safely on the ground! I am going to eventually remove the last cinder block and let the shed rest on the skids on the ground as it is still just a bit too high, but I haven’t secured the skids to the shed yet so I wanted to leave myself a little clearance to do so. At this point I decided to call it a day as I was pretty stressed out during the lifting and lowering.

I came back out on Tuesday to fix up the inside of the shed. I don’t have any pictures of this, but mostly it consisted of cosmetic repairs. Parts of the inside paneling had gaps and it wasn’t finished in the upstairs loft. This had led to some mice damage as well as some pulled out insulation. I repaired the paneling and added some new trim in the corners as well as casing around the window. The shed is already wired with five outlets and a light, so while I was out there I mounted and tied in the existing wiring to our new panel. Now we’re ready to trench in our electric and hook up our panel so that we can have some electricity out there.
I hope that we’ll get a chance to spend a few days staying in our new shed/cabin before I have to go back to work. This whole project turned out to be much more than I realized, but at the same time that makes it that much more fulfilling. To know that I’m following in my dad’s footsteps and reminiscing the memories we shared in this little red shed makes it even more profound. We are planning on repainting the shed a shade of red so that the moniker makes more sense, but we’ll probably wait on that until we decide on a paint for the cabin so that they can match. All in all, I am thankful for all of the help that I received, I am thankful that no one got hurt and the shed did not suffer catastrophic damage, and I am blessed and proud to have it on our land.
