If your riding lawn mower is leaking oil from the bottom of the engine, there’s a good chance that you need to replace a crankshaft seal.
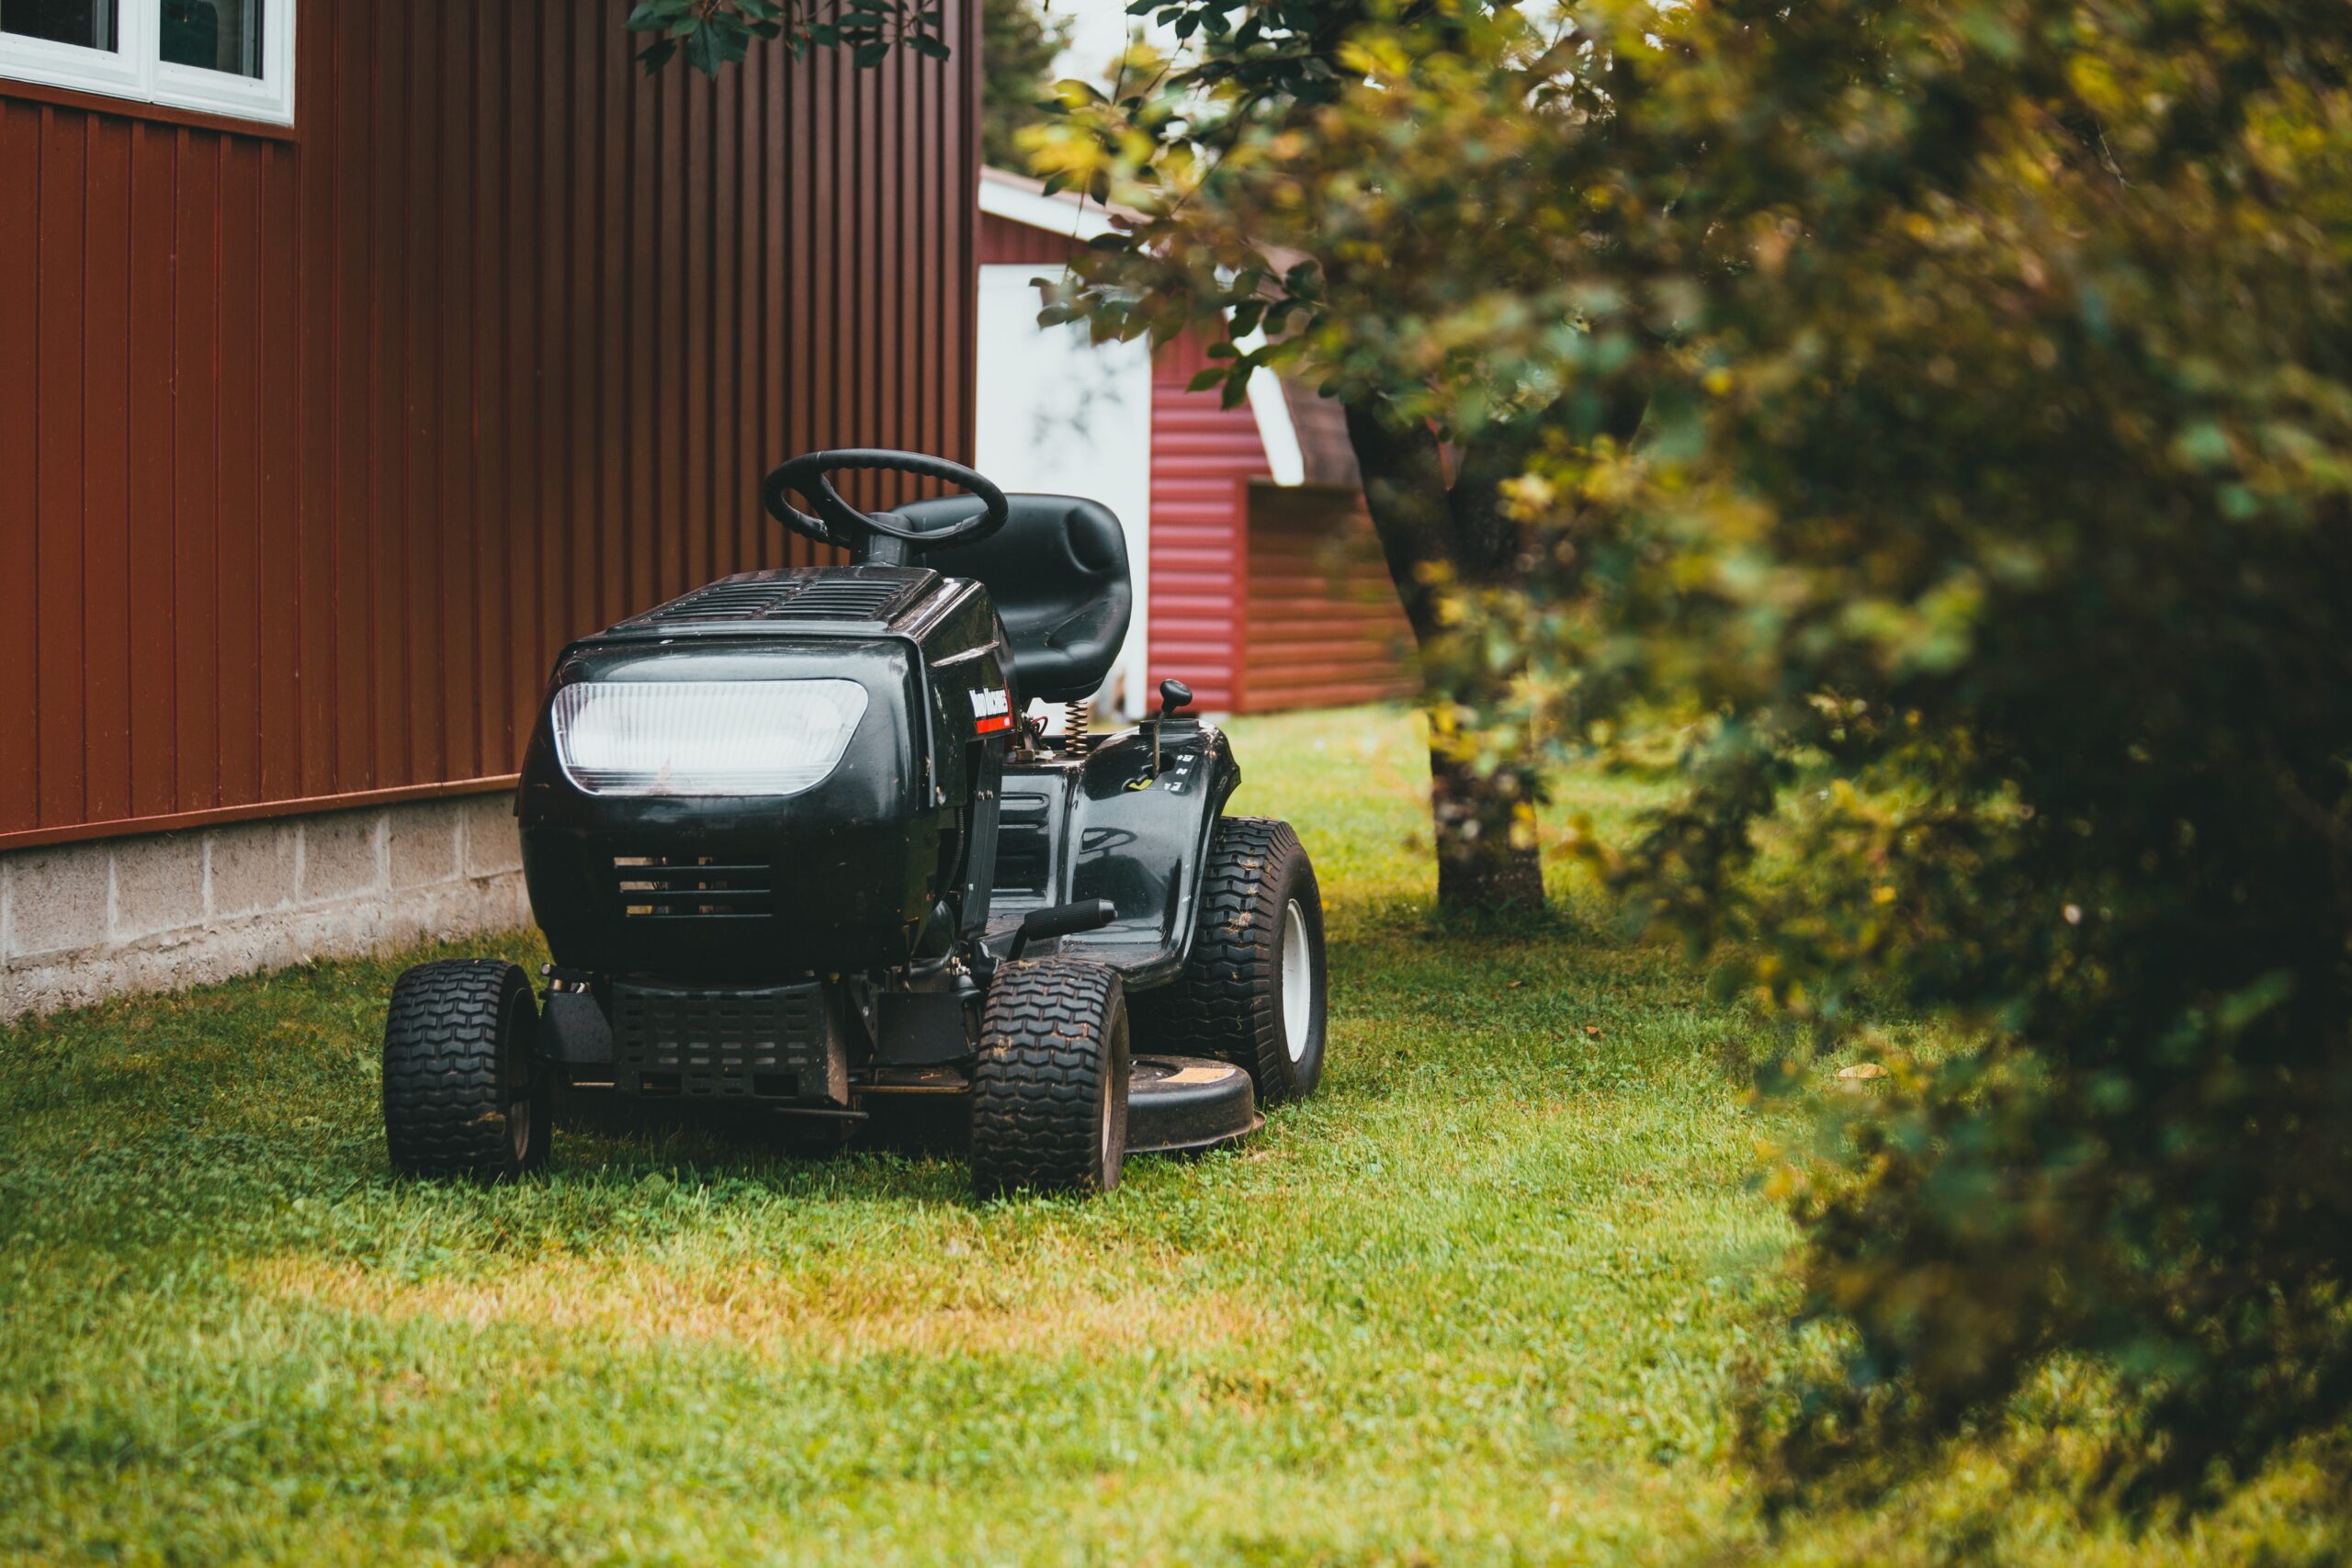
Most riding lawn mowers are vertical shaft engines. That means that the crankshaft exits on the bottom of the engine and powers the PTO and/or drive system.
Some engines are horizontal shaft, and the crankshaft exits the engine from the front or back.
You should be able to tell which type yours is just by looking at it.
If the drive belts and/or mower deck belts attach to the pulley underneath the engine, then it’s a vertical shaft engine.
This is the most common type.
Some, however, are the aforementioned horizontal shaft engine which resembles that of a snowblower engine.
If you have a horizontal engine and it is leaking oil from the bottom of the engine, then perhaps a sump gasket has gone bad.
For the purposes of this article, we’re going to assume that you have a vertical shaft engine, since that is the most common.
Riding Lawn Mower Leaking Oil From the Bottom Diagnosis
It’s leaking oil. From the bottom. Duh!
Tools Needed (Commissions Earned)
Riding Lawn Mower Leaking Oil From the Bottom Repair
In order to fix this problem, we’re going to remove the engine from the machine. While it’s not entirely necessary, it will make things a whole lot easier.
First, let’s discuss the issue. The engine sump is the cavity in which the oil resides. In there, the crankshaft and camshaft are spinning with the governor and/or oil slinger.
Obviously, oil is a liquid, and it likes to settle in the spots that are the lowest. In this case, it’s the crankshaft seal.
The crankshaft exits the engine block in order to provide power to the PTO for the mower deck and/or the drive system.
Since there’s a hole in the block for the crankshaft to exit, there has to be a super tight tolerance, otherwise all of the oil would just leak out.
Thus, the crankshaft seal. This is essentially a rubber gasket that makes up the clearance between the crankshaft and the block to eliminate leakage.
As with other components, over time this crankshaft seal becomes brittle and can start to leak.
Engine Removal
First, drain the engine oil so we don’t make a huge mess. Since we’ll be removing the crankshaft seal, any oil left in the engine is gonna come pouring out.
Plus, since we’ll be removing the engine and tipping it over, we don’t want any oil to make it past the piston rings and out the intake/exhaust.
Once the engine oil is removed, go ahead and disconnect the fuel lines, throttle and choke cables, and any electrical connections to the engine.
Here’s when it gets a little dicey. We need to remove the PTO which is notorious for seizing to the crankshaft.
Be thorough with some penetrating oil and grab your trusty impact gun to remove the PTO bolt.
Use some combination of pullers and/or swear words plus pry bars in order to remove the PTO from the crankshaft. Make sure not to lose the PTO key.
Once that’s off, we just have to remove the 4ish engine mounting bolts that hold the engine to the frame, and then we should be able to remove the engine completely. Go ahead and do so.
Replace the Crankshaft Seal
Now that the engine has been removed, go ahead and flip it over so the crankshaft is pointing up at you. The proper method would be to remove the sump pan off the gasket, but it’s not entirely necessary.
If you do, plan on replacing the sump gasket as well. It is easier to remove the sump but really at this point it’s your choice.
If you do remove the sump, grab a seal puller and remove that sucker. Then drive the new one in with a seal driver or an appropriately sized socket. Just make sure that it’s seated well.
If you don’t remove the sump pan, you’ll have to work around the crankshaft.
You can drive a drywall screw into the seal and use a pair of pliers to work it out. Then, drive the new seal on *carefully* with a punch around the edges.
Either way, the new seal is in, so we can go ahead and replace the engine.
Just go ahead and repeat the steps in reverse to get your machine up and running (and leak free).
As an Amazon Associate I earn from qualifying purchases.