These 3 reasons you can’t get riding lawnmower to start have sub-reasons. So, in reality there’s probably more like 3082 reasons why you can’t get it to start. We’ll start with the three basic reasons as they apply to any gasoline small engine.
Can’t Get Riding Lawnmower to Start Symptoms
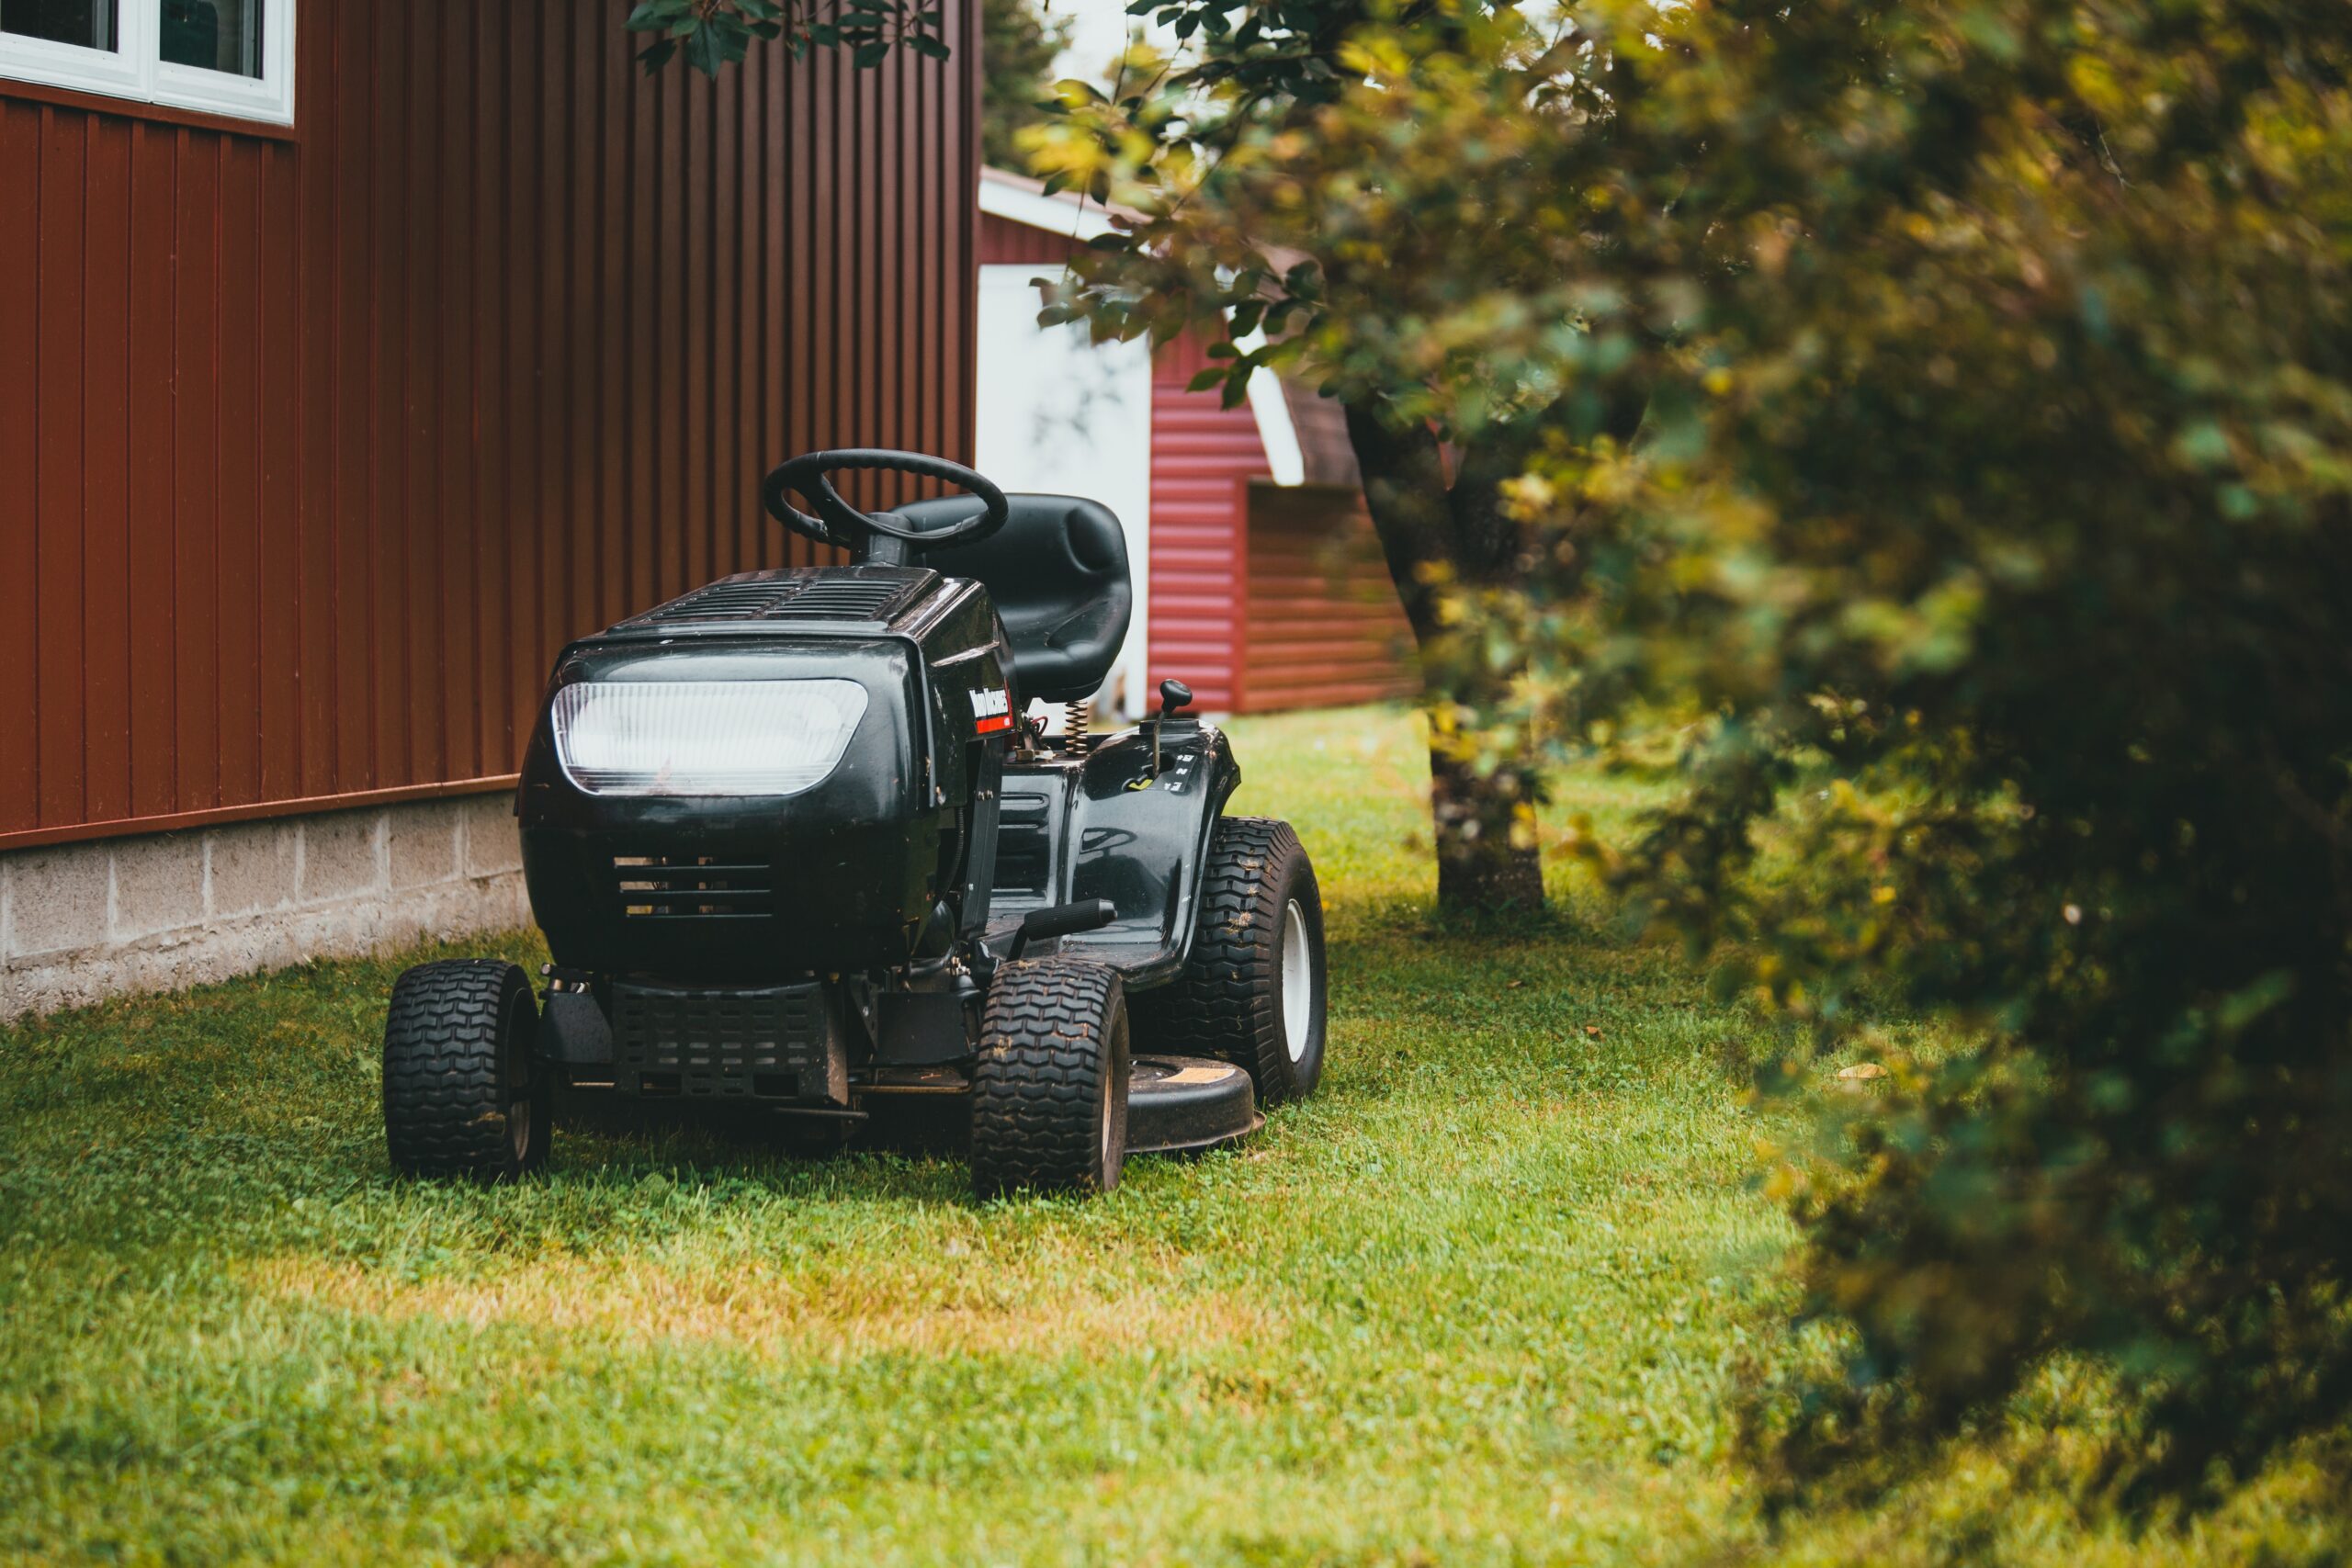
Your riding lawnmower doesn’t start (facepalm).
Tools Needed (Commissions Earned)
Can’t Get Riding Lawnmower to Start Diagnosis
As mentioned, there are three basic reasons why any gasoline small engine won’t start. They are:
- spark
- air/fuel mix
- compression
Spark
I pick up a lot of junk machines to fix and flip, and 99.9999% of them don’t run when I get them, so I’m familiar with riding lawn mowers that don’t start.
I like to begin my assessment by ensuring that the engine isn’t seized, and then I move on to check for spark.
This is just my preference because it’s pretty quick.
If you have a handy spark tester, just remove the spark plug. Then, thread in the spark tester and connect the other end to the spark plug.
When you crank the engine over, the spark tester will light up. There are different types of spark testers, but in general, it will glow brighter if the spark is greater.
If you don’t have a spark tester, you can just remove the spark plug. Leave it connected to the lead and rest the spark end on the engine crankcase so it grounds and completes the circuit.
When you crank the engine over, you should see the spark jump the gap to the engine crankcase. It’s helpful to do this with the lights dimmed to see the spark.
Got spark? Good, you can move on. If not:
Inspect the Plug
While you have the spark plug out, take a look at the condition of it. If it’s caked in carbon, that’s not necessarily a bad thing, but go ahead and clean it up on a wire wheel. Make sure to use some compressed air to clean it out afterwards.
Perhaps it’s excessively oily. This can indicate worn rings allowing oil to seep past, or perhaps the engine was set on its side. Either way, an oily spark plug will prevent the spark from jumping the gap and firing.
Lastly, if the plug is rusty, then you can be certain that water got in the cylinder bore. There’s a great chance that there’s more rust in the bore, and that will complicate things further. But for right now, we’re only concerned with spark.
Inspect the Spark Plug Lead
Trace the spark plug lead and look for any frayed wiring. If there’s a nick in the boot or the wire itself, this can allow the electrical current to ground out on any metal shroud or the crankcase itself. This will bypass the spark plug and not allow for a spark.
Check out the Ignition System
If you have an older machine, chances are that the ignition system is made up of points and a condenser. These points need to pass current in order to generate spark, so if they’re dirty you need to clean ‘em up. This is a very common issue for older machines that have been sitting awhile.
If you have a newer machine that uses an electrical coil, then you need to diagnose the coil itself. There will be a small wire attached to a terminal on the coil. This is the grounding wire. Remove it and then crank the engine over. If you see spark now, then you know that the coil is bad.
Look at the Timing
Most riding lawn mowers (maybe all?) have the timing dictated by a key on the crankshaft which holds the flywheel in position.
The timing tells the engine the correct time to fire the spark – when the piston is in the correct position to ignite.
If this key is dislodged or sheared, then the flywheel is spinning independently and the machine can’t fire at the correct time. You’ll need to remove the flywheel to inspect the key.
How’s the Battery?
This goes without saying, but in order to generate spark, the machine needs power. Use a battery load tester to see if the battery is any good. If it’s low, throw it on a charger. For diagnosis, we can use a jumper pack to provide power. If it’s just plain dead, grab a new one after you’ve got it all fixed up.
Hopefully, one of the aforementioned sub-reasons has lead you to the correct repair and you now have spark.
Air/Fuel Mix
This reason is a bit self-explanatory: engines need fuel to run. What’s more important is that they have the correct air to fuel mix in order to run optimally.
Fuel
There’s fuel in the tank, right? I have to mention it because you’d be surprised how often this gets overlooked.
Along those lines, the fuel has to get to the engine. This means that it has to go through the fuel filter and the carburetor.
If it’s your machine, and you’re diligent with routine maintenance, chances are that you know when you need to replace the fuel filter.
On an unknown machine, I usually go ahead and replace it. They’re cheap enough, and it’s good to eliminate that as a possible source of failure.
Furthermore, even if you drain the fuel from the tank, there’s always a little bit that resides in the filter. Over time, gasoline gets very viscous, like syrup. It can clog an entire fuel system, and that certainly includes the fuel filter.
Ugh, Carburetors
When in doubt, it’s usually the carburetor. Seriously, for such an important component of an engine, they’re very easy to screw up.
As the fuel can gum up a filter, it can also foul a carburetor. This will also prevent fuel from reaching the combustion chamber.
Carburetors vary by age and model, but the general components include tiny jets where the fuel enters the carburetor body and a float/ needle and seat mechanism that shuts the fuel flow off.
The float floats (ingenious name, right) in the carburetor bowl. There’s always a bit of fuel in the carburetor bowl. As it fills up, it pushes the float up.
When the float moves up, it pushes a tiny needle into the seat. This is the orifice where fuel is entering the bowl.
If the needle doesn’t seat, then too much fuel will enter the carburetor and flood the engine. If it’s stuck closed, then no fuel will enter. Either way is problematic.
To further complicate the carburetor, the jets have tiny orifices where the fuel go through, and these small holes quickly become clogged with old fuel and/or dirt that’s in the fuel.
Most carburetors have multiple jets which leads to multiple sources of failure. The best option is to remove the carburetor entirely, disassemble it, and clean it in an ultrasonic cleaner. Put it back together with a fresh carburetor kit that includes new wearable components.
Air Filter
This is an often overlooked component of the air/fuel mix. Air filters generally get dirty; they have a rough life. Routine maintenance includes cleaning and replacing air filters as needed. Luckily, it’s a quick inspection.
Pop the air cleaner cover off and take a look at the filter. If it’s dirty or clogged with debris, clean or replace it.
The problem is the air flow. Since the machine relies on the correct proportion of air to fuel, if the air is reduced by a dirty filter, then not enough air will reach the carburetor. This will create a “rich” condition where there is too much fuel for the amount of air coming in.
Compression
Still can’t get riding lawn mower to start? Then look to compression. I say this because it’s kind of a last-ditch effort.
In the majority of cases, the trouble lies in the spark or air/fuel mix. If fixing those doesn’t correct the problem, then we need to look at compression.
Engines need compression to fire. The piston compresses the air/fuel mix in the combustion chamber at the correct timing with the spark to generate the ignition.
If that air/fuel mix is not being compressed adequately, then it simply won’t start. The best way to diagnose compression is to use a compression tester.
Simply remove the spark plug and thread the compression tester into the plug hole. Then, turn the engine over and read the compression tester gauge. It should be around 80-90 PSI. Side note; if you have multiple cylinders, you should check compression on all of them.
If the compression is less than 80, then there’s a leak somewhere. Let’s start with simple and then move on.
Valves
The valves allow air to enter on the intake stoke and exhaust to exit on the exhaust stroke. Coincidentally, there’s an intake valve and an exhaust valve.
If those valves don’t “seat” well, then tiny gaps allow that compressed air to exit where it’s not supposed to.
This can happen if a valve gets stuck in the open position. Similarly, it can get stuck in the closed position and prevent operation as well.
Pop the valve cover off and ensure the correct valve gap for both the intake and exhaust valves. You’ll need to look your engine model up for the correct specs on this.
While the valve cover is off, spin the engine over by hand and ensure that the valves are moving. If one (or both) are not, then you know it’s stuck.
Removing the Head
This isn’t as scary as it sounds. If the valves weren’t the problem, then I generally remove the head for a better look. There are less invasive methods, but I prefer to see what’s going on. Plus, it gives me a chance to clean the cylinder bore, piston and valves.
Remove the bolts that hold the cylinder head on. You’ll need to pick up a new cylinder gasket for reinstallation. Plus, you need to find the torque specs and pattern for your engine to make sure that you put it back together properly.
Lastly, pay attention to which bolts came from what holes. Some machines have the same length bolts for all while other machines use different sizes. Obviously, you want to put the right ones back where they came from.
Once the head is off, take a good look at the valves and the head gasket itself. This can be hard because the gasket tends to break when removing the head.
What we’re looking for is evidence that the gasket has “blown” or broken. If it’s not fully intact, that compressed air will have an escape route – leading to low compression.
On the valves, look where they seat on the engine body. The seat itself is a separate component. Sometimes, especially if the engine overheats, the seat can become dislodged from the body. This will lead to a poor fit (and probably more internal damage).
Since you’ve got the head off, you can take a BRASS wire wheel and clean everything up. A lot of pistons and cylinders are made of aluminum; a steel wheel will quickly damage everything.
Cylinder Bore
Lastly, we come to the cylinder bore. I mention this last, but you can also do a little test prior to removing the head.
It’s helpful if you have a borescope; you can insert this into the spark plug hole to have a decent look at the cylinder walls and the piston. Not everyone has a borescope, however, so that’s why I put it afterwards.
If you do have a borescope, you can take a general look at the condition of the cylinder walls to look for rust and/or scores on the wall. If there are deep grooves, then that’s a likely source of compression loss.
You’ll need to disassemble the engine to remove the piston and hone the cylinder. Depending on the extent of the damage, it may not be possible to repair.
Piston Rings
Piston rings expand with heat to make up the miniscule gap between the piston and the cylinder wall. This retains the oil beneath the piston and the compression above the piston.
If the piston rings are damaged or worn, then oil will get above and/or compression will be lost. Sometimes you can diagnose this in such a manner:
If the engine does start, run it for a bit and see if the compression comes up. This can be due to the piston rings expanding and seating better.
Furthermore, the rings can get stuck in the ring grooves of the piston if the machine has been sitting for some time. The heat of the engine can help them break free and perform their job.
For a neat little test, you can put some oil into the plug hole. Not too much; we just want enough to seep down into the rings.
This does two things; it helps free the rings if they’re stuck, but it also helps to make up the gap. Sometimes, this can be enough to provide enough compression to fire, and then the heat will fix the rings. Sometimes.
Recap
If you cant get riding lawn mower to start, look at “The Big 3.” These are the three main reasons why any small engine won’t fire: spark, air/fuel mix, and compression.
With each system, there are various different components, but they all must work adequately in order for the machine to run.
As an Amazon Associate I earn from qualifying purchases.
One thought on “3 Reasons You Can’t Get Riding Lawnmower to Start”