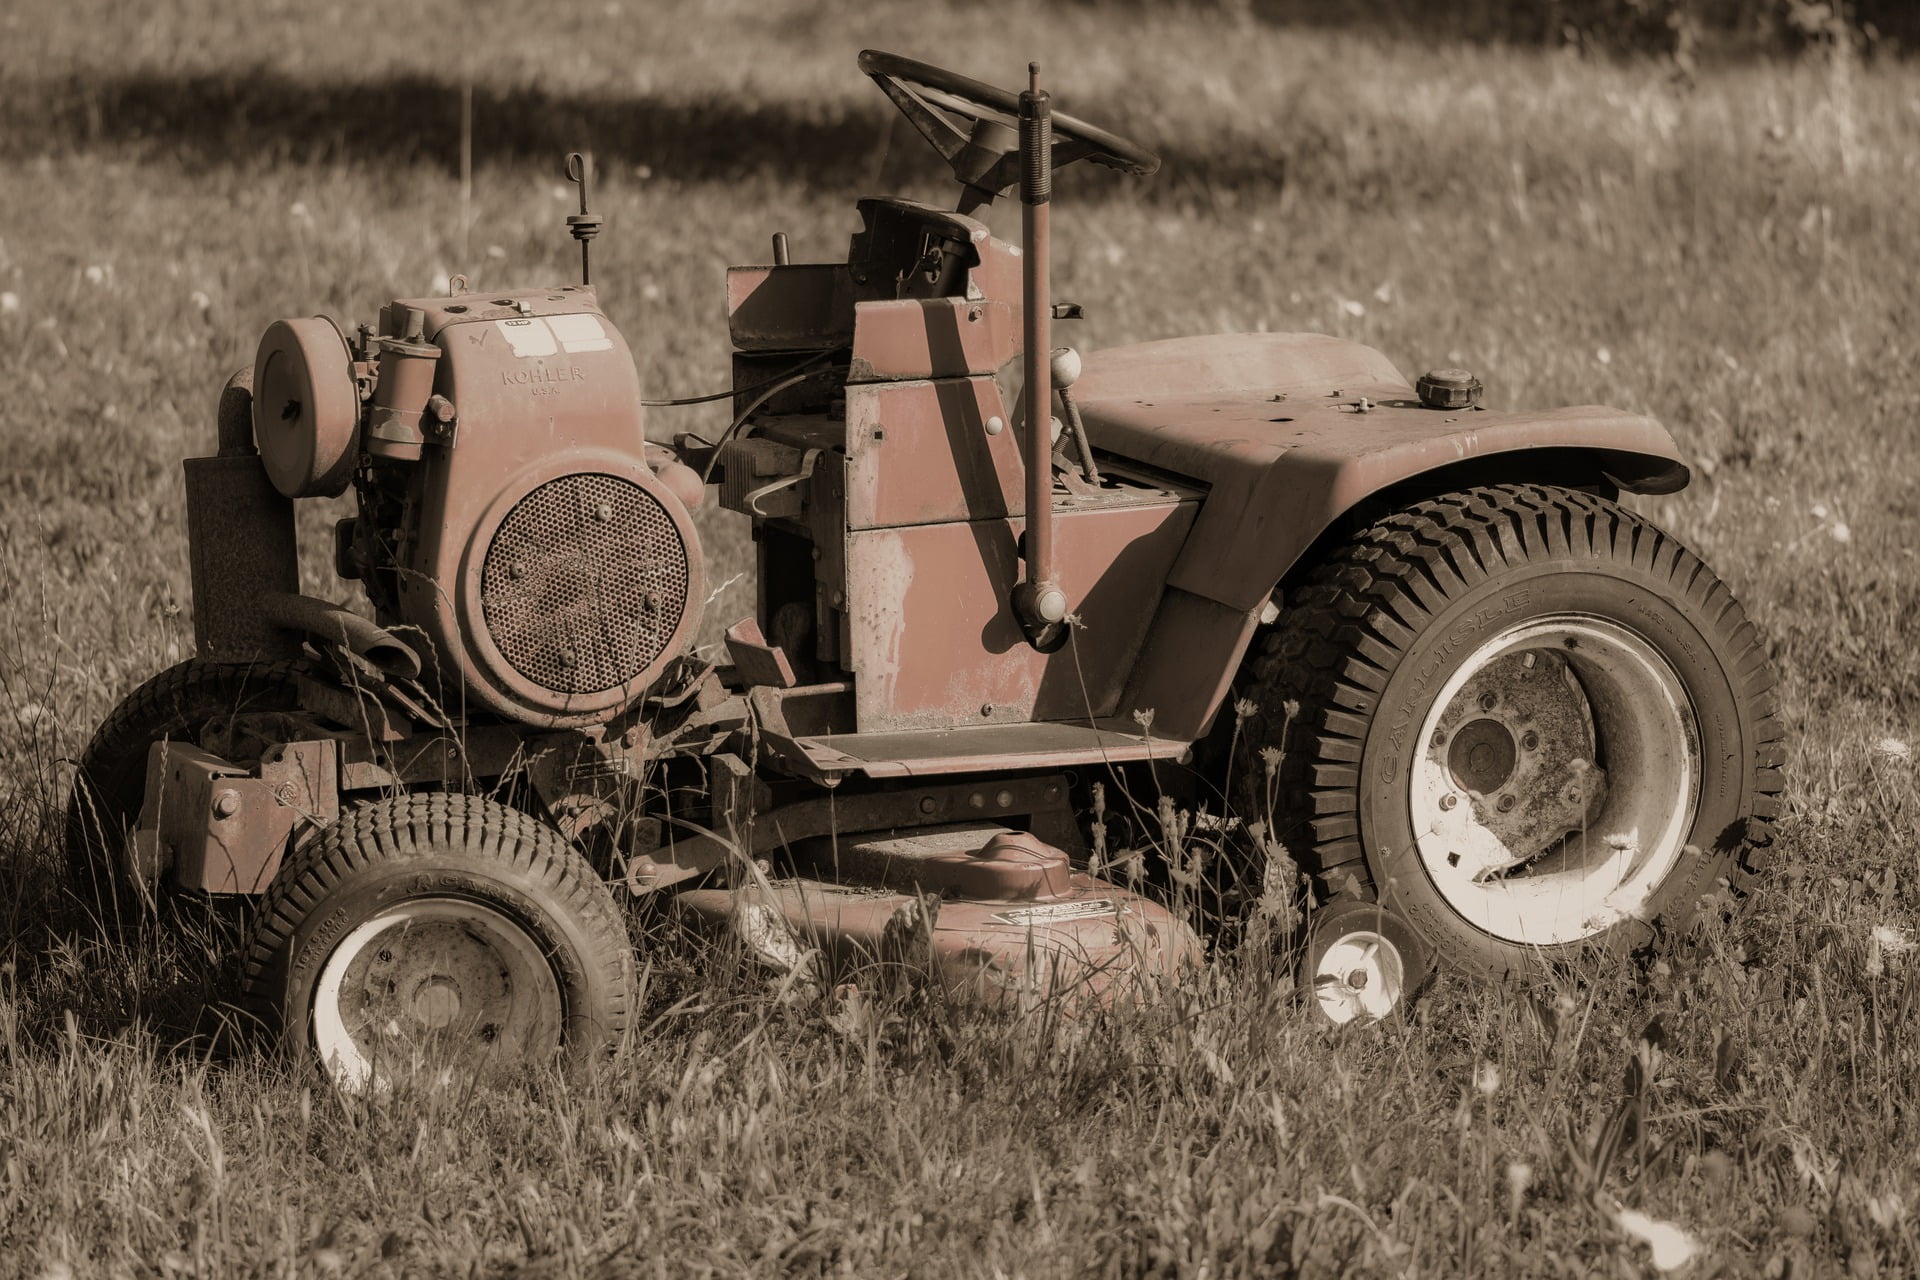
In this post, I want to talk about how to start a riding lawn mower that has been sitting for years. Honestly, this is one of my favorite situations. There’s something truly magical about bringing an old machine back to life. That old relic that’s been parked in the weeds is just begging for a new lease on life. Let’s get that old riding mower back in running condition.
What Does a Riding Mower Need to Run
The short answer is: air/fuel mix, compression and spark. If it has those three things, the engine will run. Depending on how long the machine has been sitting and in what conditions it has been exposed to will go a long way in determining how much effort will be required. Take heart, however, for there is always a chance to get your old machine running again.

There are some added complexities when a machine has been sitting for any length of time. Sitting idle is generally bad for the health of the engine and the machine. That said, there’s just a few extra steps and precautions to take during this process to start a riding lawn mower that has been sitting for years.
Tools Needed (Commissions Earned)
- Briggs flywheel removal tool part #19244
Is the Engine Free
Does the engine spin freely? This is the first thing that I check when diagnosing an old machine that’s been sitting. If you have access to the flywheel, try to spin it. If it’s locked up, read this post for some tips to free it up. In the event that it spins freely, stop here. We just want to know that it’s not seized, so don’t overdo it at this point.
Check for Fluids
First of all, check the engine oil level. Is it adequate? At this point, it’s not vital that the oil is perfectly clean or even to the “full” line. What we want to ascertain is if there’s even any oil in the machine. If it’s completely dry, then possibly a crankshaft seal has leaked the oil out. We want to make sure that the engine is properly lubricated before we attempt to start the engine up.
In fact, I take measures to OVER lubricate the engine at this point. Even if the engine oil is adequate, I’ll take the time to remove the spark plug and dribble a little bit of a thin oil into the combustion chamber. This washes down into the cylinder and lubricates the piston rings and cylinder walls. This added lubrication will aid in the initial compression and function of the piston performance as we attempt to start it. Plus, it helps to clean the cylinder walls from any carbon that’s been sitting. This can help prevent scoring of the cylinder walls.
Check for Spark
Checking for spark involves a few components depending on the type of riding lawn mower. Chances are that if a machine has been sitting for any length of time, the battery will be dead (or perhaps nonexistant). That’s ok at this point. Before you spend money on a new battery, let’s make sure we can get this machine running again first.
Without a battery, we need to apply some sort of power to the machine to replicate the battery. I always bring along a portable jumper pack for this purpose. As an added bonus, my jumper pack has an air compressor to help me inflate the tires for transport. You can attach the jumper pack directly to the battery leads of the machine.
Next, remove the spark plug if you haven’t already done so. Connect it back to the rubber boot and isolate the spark plug electrode onto something metal. We want to ground the spark plug out onto the engine crankcase to visually check for spark. Optionally, you can attach a spark plug check tool for the same purpose.
Then, with turn the key into the ignition position. As the starter motor turns the flywheel, watch the small gap of the spark plug electrode. You should visually be able to see the spark. It helps to do this step in a darkened environment to see the spark more clearly. Got spark? Great! You can skip the next step and move on.
If the key is missing, you can bypass it by directly jumping the starter motor. Ground the jumper pack to the frame and tap the positive lead to the positive starter terminal. It should spark and spin, thus bypassing the ignition switch.
No Spark
If you don’t see spark, there’s a few things you can try. The components of the electrical system generally involve: the spark plug, the ignition coil, the battery and the ignition switch. Depending on your machine there might also be relays, delay modules, voltage regulators, etc. For now, we’ll just keep it simple.
If you follow the spark plug wire, it travels behind the flywheel. This is where the ignition coil lives. For older machines, the ignition system uses a “points and condenser” set. As you’re tracing the spark plug wire, check for any cuts or frays. If the wire is visible, perhaps it is grounding out on some metal. This will prevent the spark plug from generating spark.
If the wire is good, go ahead and remove the flywheel to gain access to the ignition coil. It’s very helpful to have a Briggs impact flywheel removal tool. With the flywheel removed, you’re left with the ignition coil. On the back side is a small terminal with a wire. That’s the grounding wire. Remove the wire and replace the flywheel. You can again turn the ignition key and check for spark. This isolates the ignition coil to test it. If there’s still no spark, then you know that the ignition coil is bad.
While you have it all apart, go ahead and clean everything. Use some fine sandpaper to clean the magnets of the flywheel and the ignition coil. Make sure the ignition coil gap is set correctly.
If you have spark with the ignition coil grounding wire removed, then you know that there’s something else faulty, and it gets a little more complicated. Check all of the safety switches on the machine (seat, PTO, brake, etc.) Lastly, try a new spark plug.
Air/Fuel Mix
At this point, don’t even attempt to use the gas tank. Go ahead and remove the fuel cap to see if there’s any fuel in the tank. This can give you an indication of further work to be done. If there’s stale fuel in the tank, then you know you’ll have to clean the carburetor. If the tank is dry, that’s a helpful sign!
Remove the air filter and check its condition. With age, these things deteriorate. Once we get the machine running, be sure to replace this air filter with a new one.
After the air filter is removed we can access the carburetor. Remove the carburetor bowl from the bottom and check the condition. If there was fuel sitting in the carburetor, chances are that it will be rusty/gummy/dirty. At this point, I generally like to remove the carburetor completely and do a full overhaul. It gives you the best chance for getting your old machine running again.
If the gas tank was empty and the carburetor bowl is clean, we can fairly assume that the carburetor is clean as well. I would still recommend overhauling the carburetor going forward, but for now we can go ahead and move forward.
Start the Machine!
If the carburetor is clean and you have spark, you can now attempt to start the machine. We don’t necessarily want it to run yet. We just want to ascertain that it CAN run. So what we’ll do is dribble a little bit of fuel either into the spark plug hole or through the air intake of the carburetor. It doesn’t really matter which route you choose, they both end up at the same place. Remember, we only want a little bit of fuel. Too much will either hydrolock or vapor lock the combustion chamber, and that will complicate the diagnosis.
Once you’ve got a little bit of fuel in there, go ahead and turn the key over. Hopefully, the engine will cough, smoke, and start. Albeit, only for a few seconds. Don’t be alarmed with the amount of smoke. Since we bathed the cylinder walls in light oil, that will burn off and create a bunch of smoke. Plus, sitting for any length of time will add to the smoke production until the engine warms up again.
When we’re doing this test, we want the choke on and the throttle wide open. This will help us in the initial ignition. For subsequent tests, use less choke as you’re likely to flood the engine.
If the engine does fire and run, then all that’s left is routine maintenance. At this point, if you haven’t already done so, remove the carburetor and do a full clean/overhaul. Inspect the fuel system and replace any fuel lines that are decayed. Inspect and clean the fuel tank and replace any fuel filters.
After the fuel system has been thoroughly checked, we can reassemble everything and start the machine again. This time, we’ll use the actual fuel system. So go ahead and put a little bit of fuel in the tank and we’ll run it normally. This will give us a chance to diagnose the fuel pump (if there is one). Don’t be alarmed if it takes a while to start. It can take upwards of 30 seconds to fully prime the fuel system. Don’t run the starter for longer than that, however, as you can quickly burn it out.
Let it cool off, and recrank it. If you’re still not getting ignition, then check the fuel pump and look for vacuum leaks.
Once the machine has started, let it run for 5-10 minutes. We want to let it warm up the oil and circulate it a bit. This helps to free up any sediment that’s been lodged in the crankcase from sitting. After it’s warmed up, you can go ahead and shut the machine off and do an engine oil change.
Inspect the oil as it comes out. How viscous is it? How dirty? Are there metallic flakes? Reading the oil can tell you a lot about the health of the engine. Go ahead and replace the oil filter and add fresh oil to the full line.
If the Engine Didn’t Start
If the engine didn’t start on the last test, and we know that we have air/fuel mix and spark, then all that’s left is compression. A compression tester is handy in this case. Remove the spark plug and thread in the compression tester. Go ahead and crank the engine and check the compression tester gauge to determine the amount of compression in the engine. Generally speaking, we want compression of at least 80-90 PSI on a cold engine of a riding lawn mower.
If the compression is less, this can indicate either a blown head gasket or a stuck valve. From here, you’ll have to do a little more diagnosis to determine the cause.
Recap
The challenge of starting an old riding lawn mower that has been sitting for years is real. It takes some real diagnosis and troubleshooting, but if you approach it scientifically you can find success. While all of the components are intertwined, they all have to work individually for the machine to run. The engine requires spark, air/fuel mix, and compression in order to run. Diagnosis the different systems and once you’ve ensured that the engine has all three, it will run.
Good luck!
As an Amazon Associate I earn from qualifying purchases.
6 thoughts on “How to Start a Riding Lawn Mower That Has Been Sitting For Years”