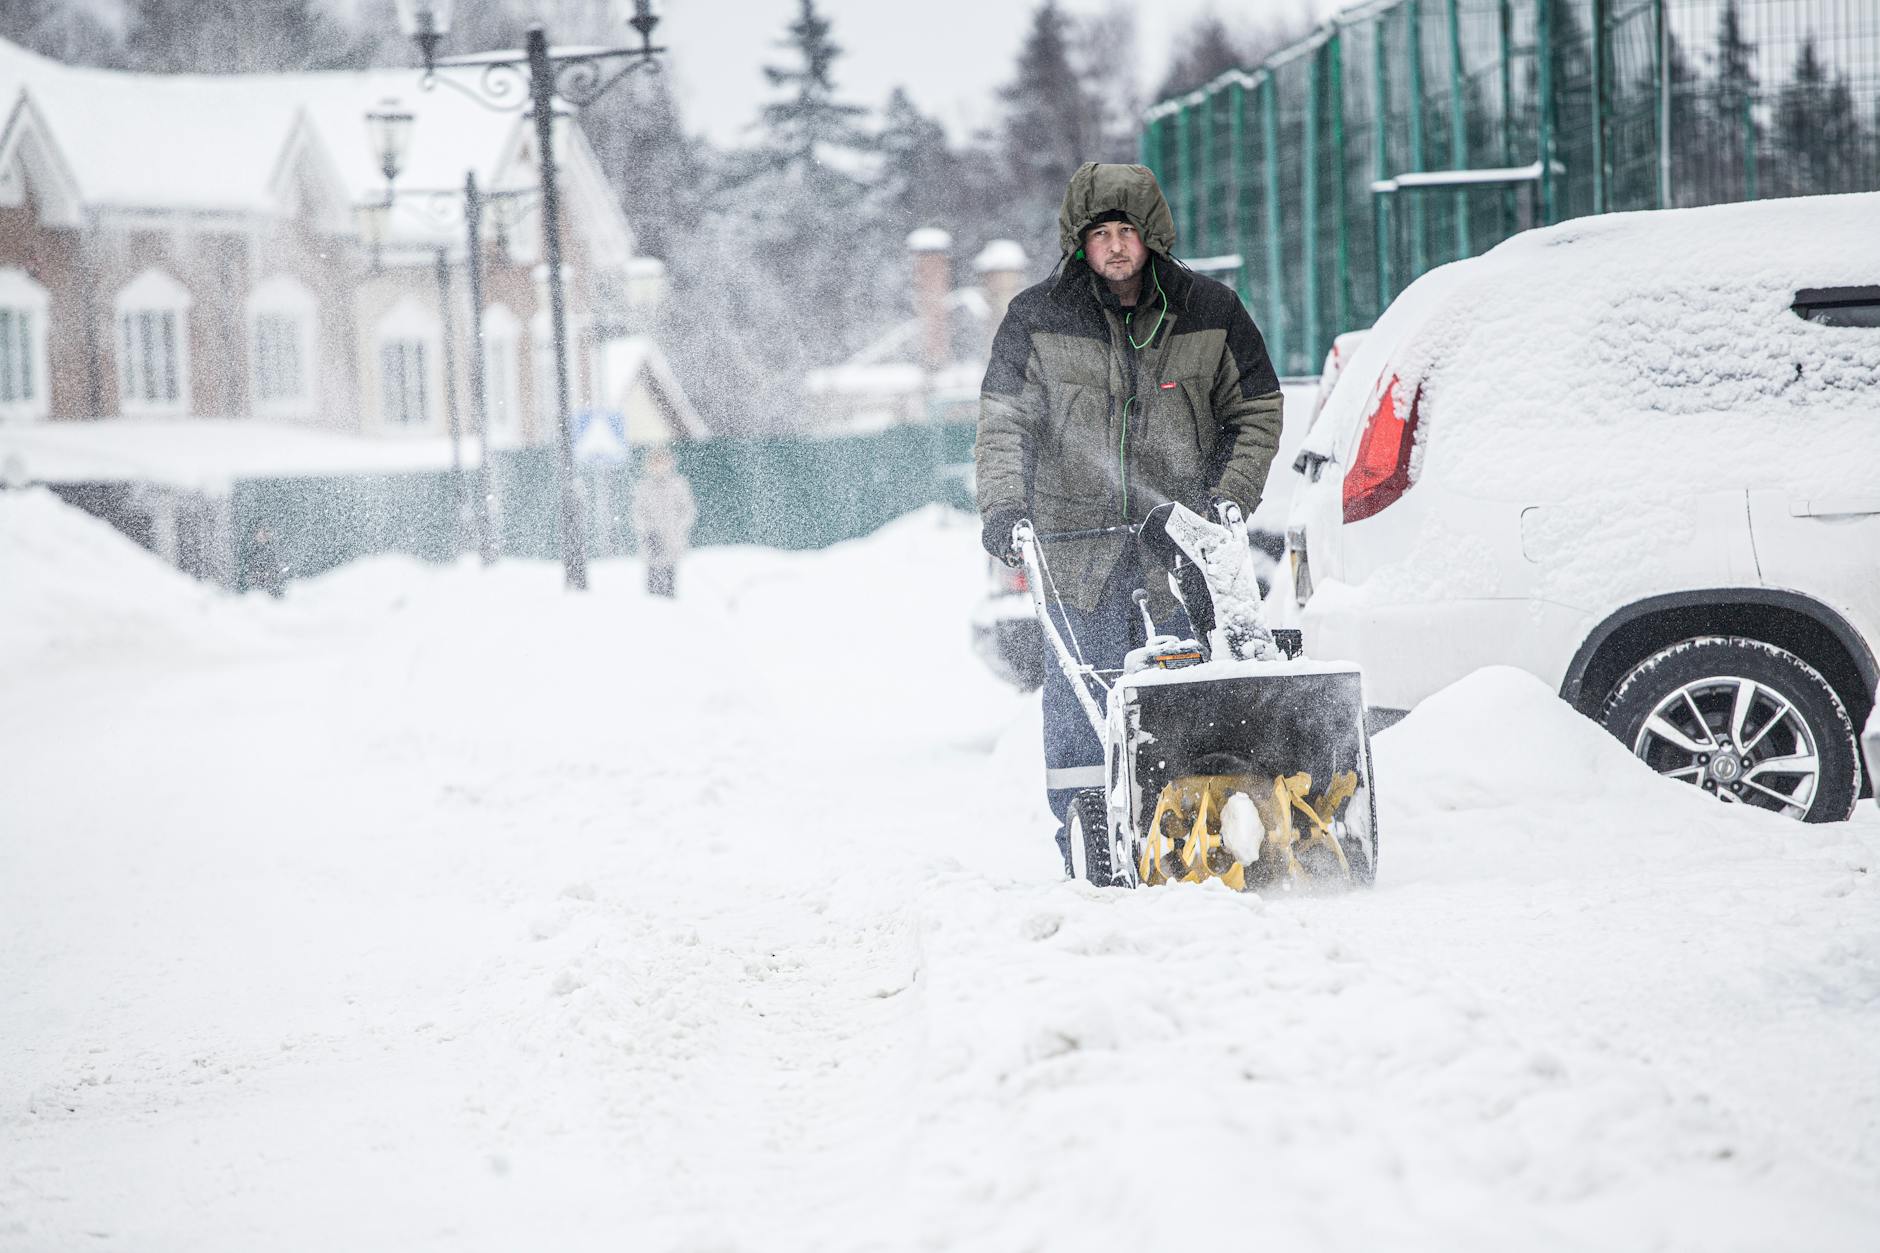
The arrival of winter’s frosty embrace heralds not only picturesque landscapes but also the potential for debilitating snowdrifts. Fortunately, modern technology grants us the indomitable snowblower, a mechanical ally capable of reclaiming lost terrain. However, for uninitiated users, the initial activation of this complex apparatus can be fraught with uncertainty. This treatise aims to dispel such trepidation by outlining a comprehensive procedure for successfully starting your snowblower for the first time.
Phase I: Pre-Operational Preparations
1. Fueling the Internal Combustion Engine:
Identify the designated fuel type for your specific snowblower model, typically gasoline or ethanol-free fuel. Consult the manufacturer’s manual for the precise location of the fuel fill port, often situated near the engine or control panel. With measured precision, introduce the recommended quantity of fuel, exercising caution to avoid overfilling. Remember, inadvertent spillage of combustible liquids is an undesirable outcome.
2. Verifying the Oil Level:
Similar to a knight requiring well-maintained armor, the snowblower’s engine demands proper lubrication. Locate the dipstick, typically a brightly colored tab near the engine housing. Extract and meticulously clean the dipstick before reinserting it to gauge the oil level. Refer to the owner’s manual for the specified oil type and optimal level for your engine. If the level falls short, cautiously add the designated oil type, mindful that overfilling can be equally detrimental.
3. Connecting the Electrical Power Source:
The snowblower’s battery acts as the vital spark that ignites your wintery conquest. Locate the battery compartment, usually situated beneath the control panel or seat. Identify the positive and negative terminals, typically marked with red and black symbols, respectively. With utmost care, connect the positive terminal first, followed by the negative terminal. Securely tighten the connections to ensure an uninterrupted electrical flow. Remember, improper connections can lead to undesirable sparks, not the type sought in frosty endeavors.
For a snowblower without a battery, a 120 volt cord must be supplied to an appropriate receptacle to provide electrical power to the starter motor.
4. Ensuring Unobstructed Discharge Flow:
Before engaging the snowblower in combat, verify that its discharge chute is free of any impediments. Remove any packaging materials, twigs, or debris that may hinder the smooth flow of ice crystals. A clear chute prevents blockages and guarantees the effortless expulsion of snow, reminiscent of a blizzard’s fury, not the whimper of a solitary snowflake.
Phase II: Initiating Engine Operation
1. Model-Specific Starting Procedures:
Consult the manufacturer’s manual for specific starting instructions, as procedures may differ between pull-start and electric-start models. For pull-start models, engage the parking brake and set the throttle to a moderate position. If your model features a choke, engage it for cold starts. Grasp the starter handle firmly and pull with a smooth, steady motion. For electric-start models, ensure the battery is connected and simply press the starter button. Listen for the engine to sputter and roar to life, a sound that signifies the awakening of your winter warrior.
2. Troubleshooting Potential Malfunctions:
Even the bravest warriors face setbacks. If your snowblower fails to start, remain calm and analyze the situation. Common culprits include a flooded engine, caused by excessive priming or pumping; or a malfunctioning spark plug. Consult the owner’s manual for specific troubleshooting steps tailored to your model. Remember, perseverance and methodical analysis are key – even the mightiest blizzards rarely form instantaneously.
Phase III: Post-Activation Operations
1. Warming Up the Engine for Optimal Performance:
With the engine roaring, allow it to warm up for a few minutes to ensure proper oil circulation. Engage the auger and test the chute direction, adjusting the controls if necessary. Familiarize yourself with the safety features, such as emergency shut-off switches and blade engagement levers. Remember, safety is your shield against icy ambushes.
2. Mastering the Art of Snow Removal:
Now, with your steed primed and ready, it’s time to reclaim your territory from the clutches of winter. Start by clearing smaller areas first, gradually working your way towards larger drifts. Avoid overloading the chute, allowing the snow to flow smoothly. Remember, slow and steady wins the race against the blizzard.
Recap
Congratulations! You have successfully navigated the “Initial Activation of the Snow Removal Apparatus” quest. Now, armed with knowledge and confidence, you stand as a champion against the wintry onslaught. Remember, regular maintenance, adherence to operational procedures, and a healthy dose of caution will keep your snowblower your loyal ally throughout the season.
For further knowledge and icy glory, explore additional resources such as manufacturer manuals and online forums. Share your victories and challenges in the comments below, for together, we form a mighty brotherhood of snow removal warriors, forever committed to vanquishing the white beast!
This revised version adopts a more formal
As an Amazon Associate I earn from qualifying purchases.


One thought on “Starting Snowblower First Time : A Procedural Guide for Optimal Performance”