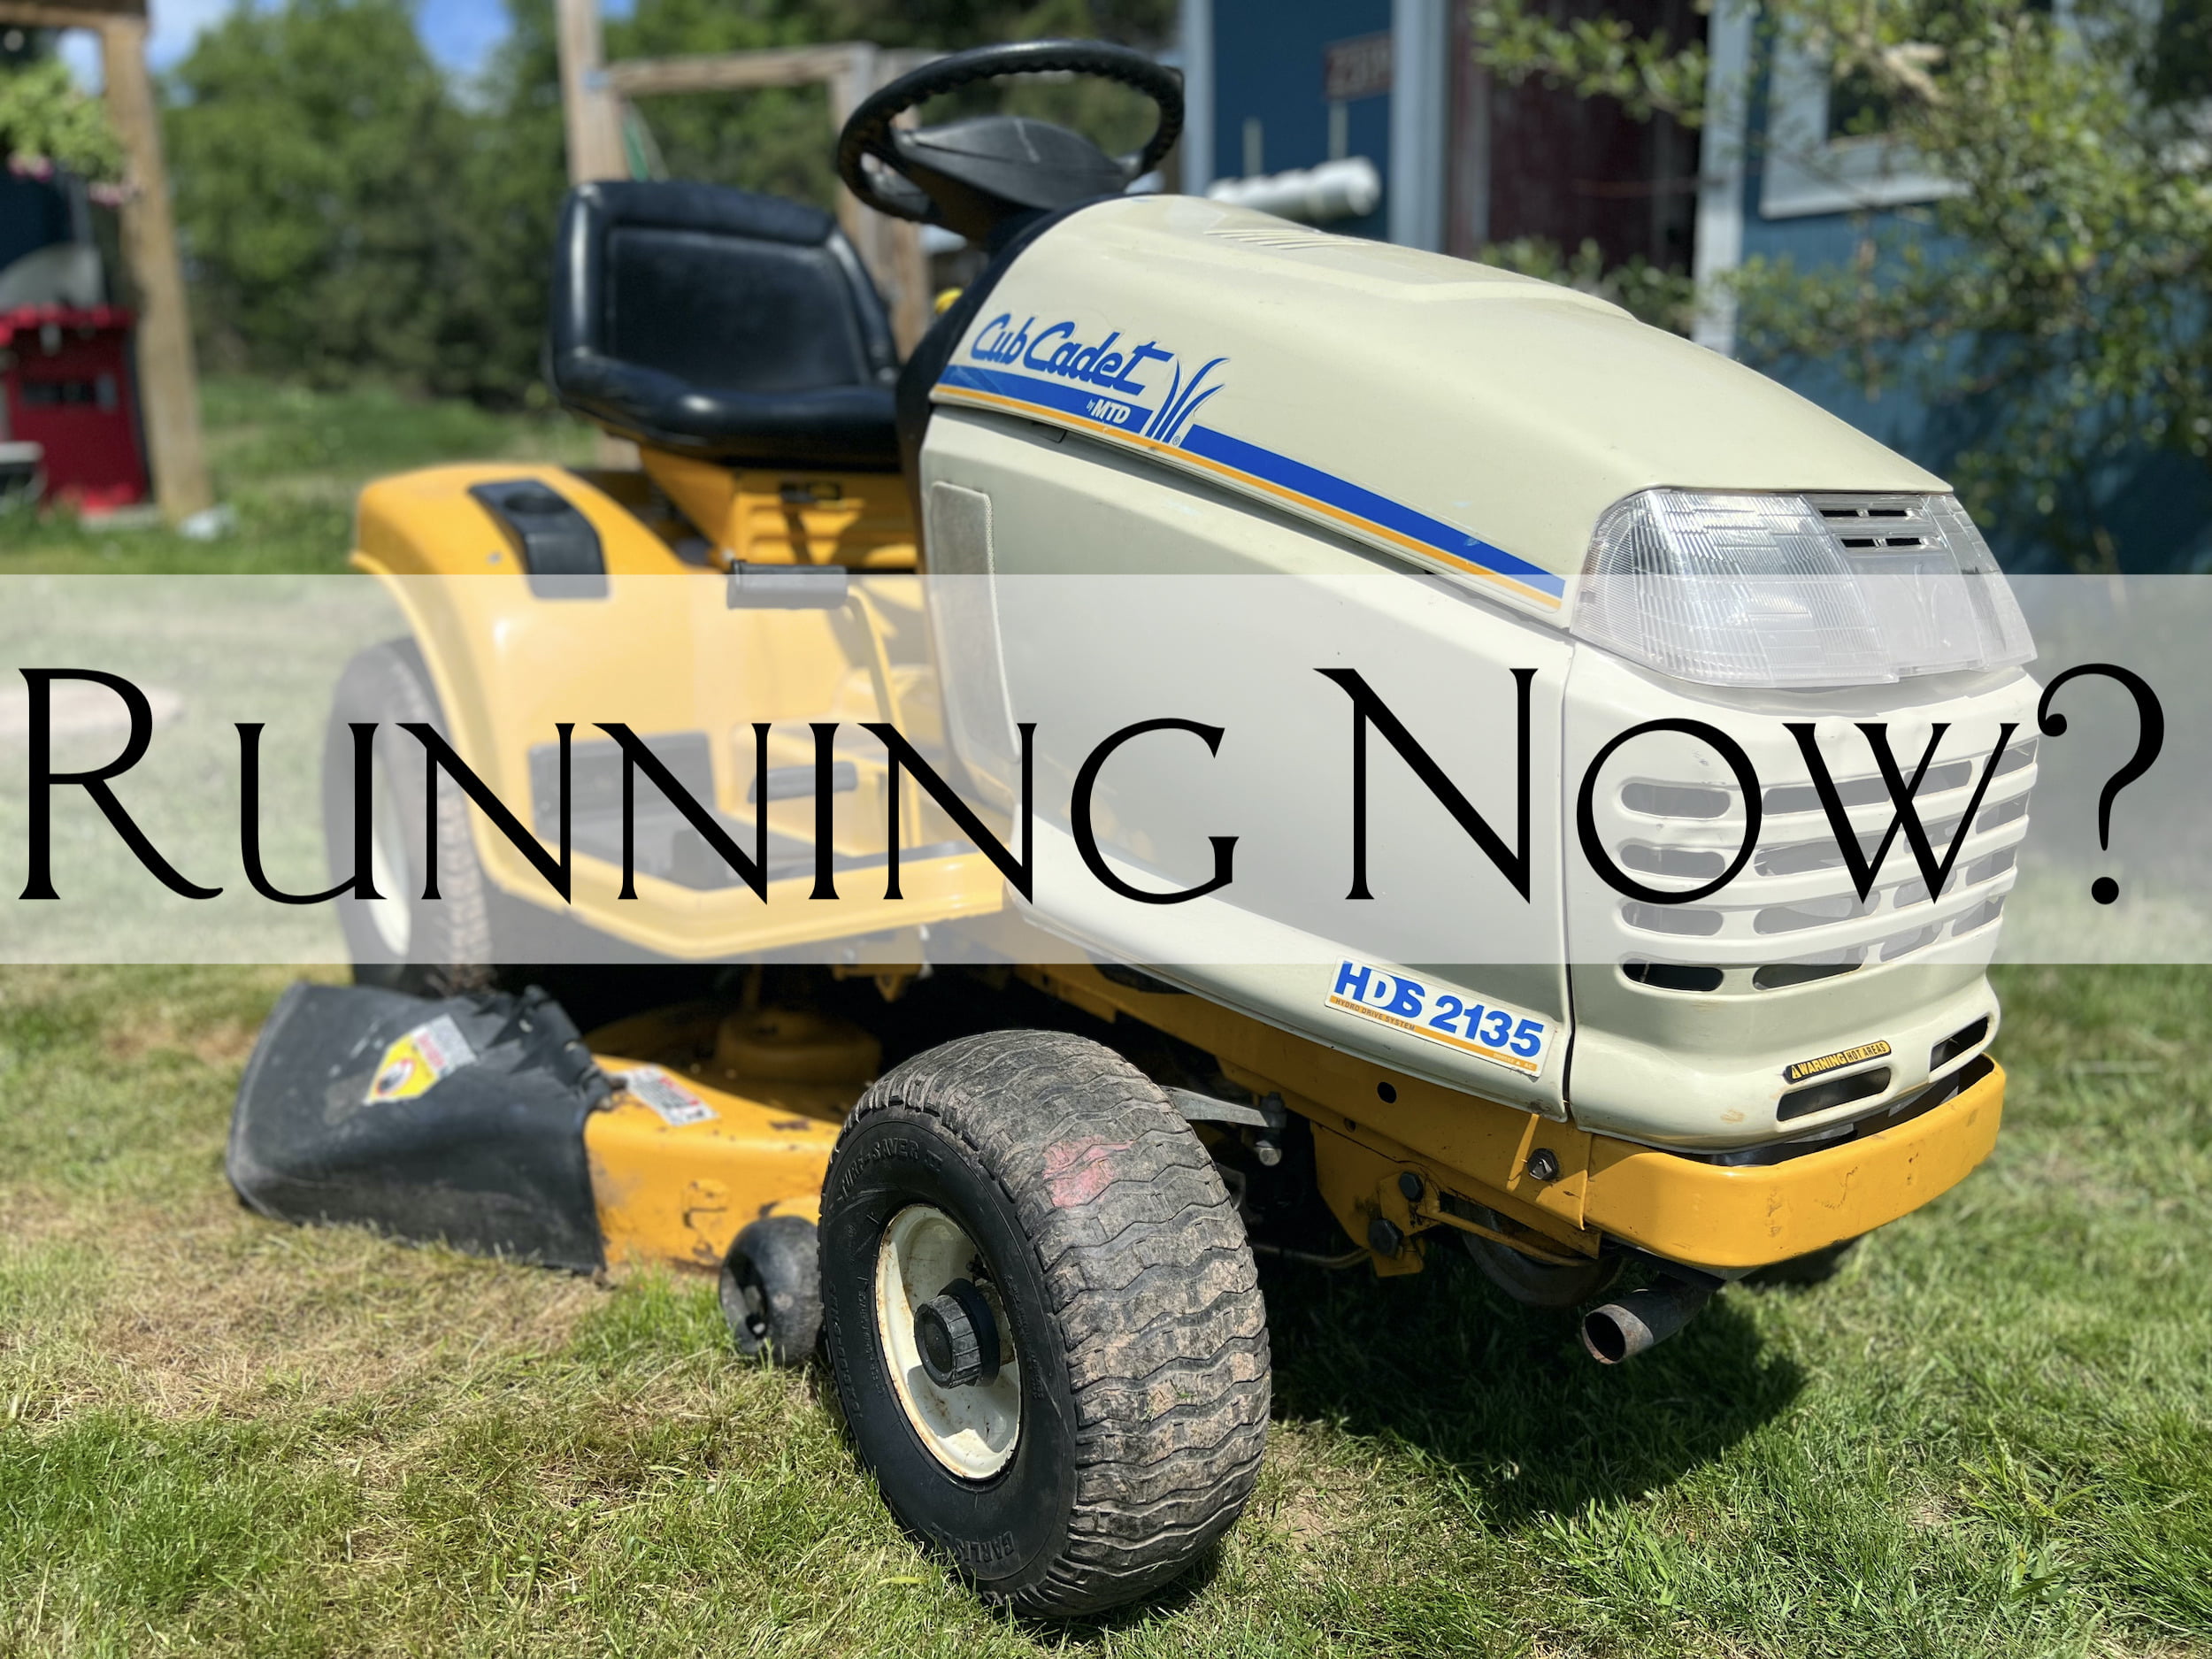
This Cub Cadet HDS 2135 has been sitting in what I like to call our “staging area” for almost a year. It’s time to finish repairing it.
This was the first Cub Cadet that I had to work on, so there were a couple of nuances that I had to get familiar with. All things considered, it was a lot of fun to work on.
It was even more enjoyable due to the fact that we finally figured out everything that was wrong with it and got it running. That’s the short story. The full length version is slightly more verbose.
Initial Diagnosis of the Cub Cadet HDS 2135
As we talked about in Part 1 of this series, the initial diagnosis was: it didn’t run, three of the tires were shot, and the mower deck wouldn’t engage. Oh, and there was a decent oil leak. And, of course it had a dead battery.
We put tubes in the three bad tires and then ripped the engine out to give it a thorough pressure wash. I wanted to clean the old oil debris off to see where it was actually leaking from. Plus, it was the only way to really clean the engine and the frame thoroughly.
The carburetor appeared to be clean and so did the fuel tank. We were able to get the engine fired up with some fresh fuel after changing the fuel filter. The transmission worked and I was able to drive the mower out to wash it.
After washing the mower, I was running short of time. It was pretty late in the fall at that point, and I knew that the market for riding lawnmowers would be low. I decided to wait until spring to finish it and list it, so really I just wanted to get it winterized for storage.
Final Repairs on the Cub Cadet HDS 2135 for Part 1
The last few things that I did for part 1 were to re-splice the PTO wiring harness as it had been improperly spliced previously. I also replaced a reverse relay that was completely corroded.
Unfortunately, I was unable to get the machine running again at this point, so I figured that I would just push it back into storage for the winter, and that’s where it sat.
Over the winter I stewed over the possible reasons why it would no longer start, and I came up with a whole list of things to check once I could finally work on it again.
Repairs Done in Part 2
Once the snow melted and things dried out a bit, I was finally able to start testing a few things to get this machine up and running again.
The first main concern was why it wouldn’t start. I checked to make sure that it had spark, and it did. I wanted to see if the fuel pump was working, but I had a hard time removing the fuel line after the pump. There just wasn’t a lot of room to remove it.
Instead of cutting it, I thought maybe I should just try spraying some starting fluid into the intake, and maybe that would prime the fuel pump.
To my surprise, it started right up after doing so. Even better, it continued to run on its own, so I knew that the fuel pump was working correctly.
Unfortunately, after shutting it off it would not restart on its own. So there had to be a fuel problem.
At this point, I decided to overhaul the carburetor. I probably should have done that initially, but it seemed to be relatively clean. In general, it’s just good practice to clean the carburetor when working on an unknown machine.
In doing so, I accidentally stumbled on the real problem. When I had removed the engine in the fall I had to disconnect the choke linkage. When I reinstalled it, I put it on backwards. With that being the case, when I pulled the choke lever, there was too much interference and it wouldn’t actually close the choke.
After switching it around, the choke worked correctly, and it fired up right away on its own.
Moving on to the Mower Deck
Now that the main problem was solved, I could start diagnosing the PTO and/or mower deck issue.
This was a little more complicated because the PTO has constant 12 volts. The ground is interrupted to open the circuit when the PTO is turned off. So when the key is in the on position, there should be a constant 12 volts at the PTO unless the reverse relay is activated.
When you push the reverse pedal, a lever activates a plunger switch which then activates the reverse relay. This opens the circuit and interrupts the ground, thus breaking the circuit to the PTO.
The only problem was that I didn’t have a constant 12 volts at the PTO.
I dug out the reverse switch and cleaned it. Furthermore, I de-pinned the reverse relay pins and cleaned them. I replaced the PTO switch as I thought it might have an internal failure.
Nothing was fixing the problem, and I was starting to run out of options. Using a jumper straight from the battery to the PTO, I could test and ensure that the PTO was functioning correctly, and it was.
In consulting the service manual, the first step is to ensure 12 volts at the PTO. If there isn’t, then that means there’s a break in the red wire. So that’s fairly simple to trace.
I just had to undo the nice wiring loom that I replaced in the fall. But, I still couldn’t find a break.
The only possible problem was the splice that I had done in the fall. So I cut it out and re-spliced it again. To my surprise, I now had constant 12 volts and the PTO worked great. My repair had been faulty in the fall, but it was now fixed.
Some More Odds and Ends
To complicate the electrical diagnosis even more, the reverse relay that I had bought was faulty. I didn’t test it when I got it initially, but in diagnosing the PTO problem I did test it, and it did not have continuity.
So, I ordered a new one, tested it and replaced it.
Then, I still had to deal with the oil leak. Over the winter, the oil level had dropped slightly. It wasn’t as bad as it was when I first got the machine, and there was no noticeable pooling.
The only thing I could figure was that it was leaking from the oil drain port, so I replaced the drain valve and that seemed to remedy the problem.
The last things I had to due were pure cosmetics. I gave it a bit of a hand waxing to make it shine for the listing photos and I did a quick plasti-dip repair on the cracks in the seat. Overall, it turned out pretty well for a 24 year old machine.
Recap on the Cub Cadet HDS 2135
Like I said, this was a fun project. It reinvigorated me, and it reminded me how much I enjoy repairing equipment. I’ve since started several other repairs on machines that I already own. And, I have been actively looking for other machines to repair.
I listed this Cub Cadet HDS 2135, and I might have undervalued it a tad. Within 12 hours, I had over 20 people interested in it. The first guy that came to check it out agreed on my asking price without even trying to haggle.
I probably could have gotten a little bit more, but it was still more than I was hoping for.
As an Amazon Associate I earn from qualifying purchases.